Zapier is a very powerful tool that allows you to connect Maidily to various applications that you may already be using, daily.
In this article we will discuss:
- What Zapier is
- How to create a Zapier account
- How to connect your Zapier to Maidily
What is Zapier?
Zapier is a product that helps automate repetitive tasks between two or more apps. Zapier uses automated workflows to identify when a specific event has occurred and trigger one or more actions.
Zaps are very helpful for tasks you need to do frequently, like sending out reminders to your team to complete a task, or regular transfer of information from one app to another, like updating a spreadsheet or calendar.
Once you integrate Zapier with your Maidily account, the system executes Zaps on specific operations, like add booking, cancelation, reschedule, etc, and performs the action on the connected app.
- New Customer - Triggers when a new customer is created.
- Customer Deletion - Triggers when a customer is deleted.
- New Tech - Triggers when a new technician is created.
- Time Off Requests - Triggers when a new time off request is created.
- Tech Deletion - Triggers when the technician is removed/deleted.
- New Job - Triggers when a new job is created.
- Job Deletion - Triggers when the job is deleted.
- Job Cancelation - Triggers when a job is getting canceled.
- Subscription Cancelation - Triggers when a job subscription is canceled.
- Paid Job - Triggers when a job is paid through an invoice/gets charged through the job details.
- Job Assignment - Triggers when a job is assigned to a technician or team.
- Job Update - Triggers when the job details of a job are updated.
- New Quote - Triggers when a new quote is created.
- Quote Deletion - Triggers when a quote is deleted.
- Quote Update - Triggers when the quote details of a quote are updated.
- Quote Expired - Triggers when a quote has expired
- Quote Rejected - Triggers when the quote is rejected.
- Quote Accepted - Triggers when the quote is accepted.
For example, you can set up a Zap to add customer details to your Google Sheets account whenever a new booking has been added to the system. Then, when the booking has been charged, another Zap can sync the data to your WaveApps/Quickbooks account.
There are innumerable ways to use Zapier to automate tasks for your business.
How to set up a Zapier account
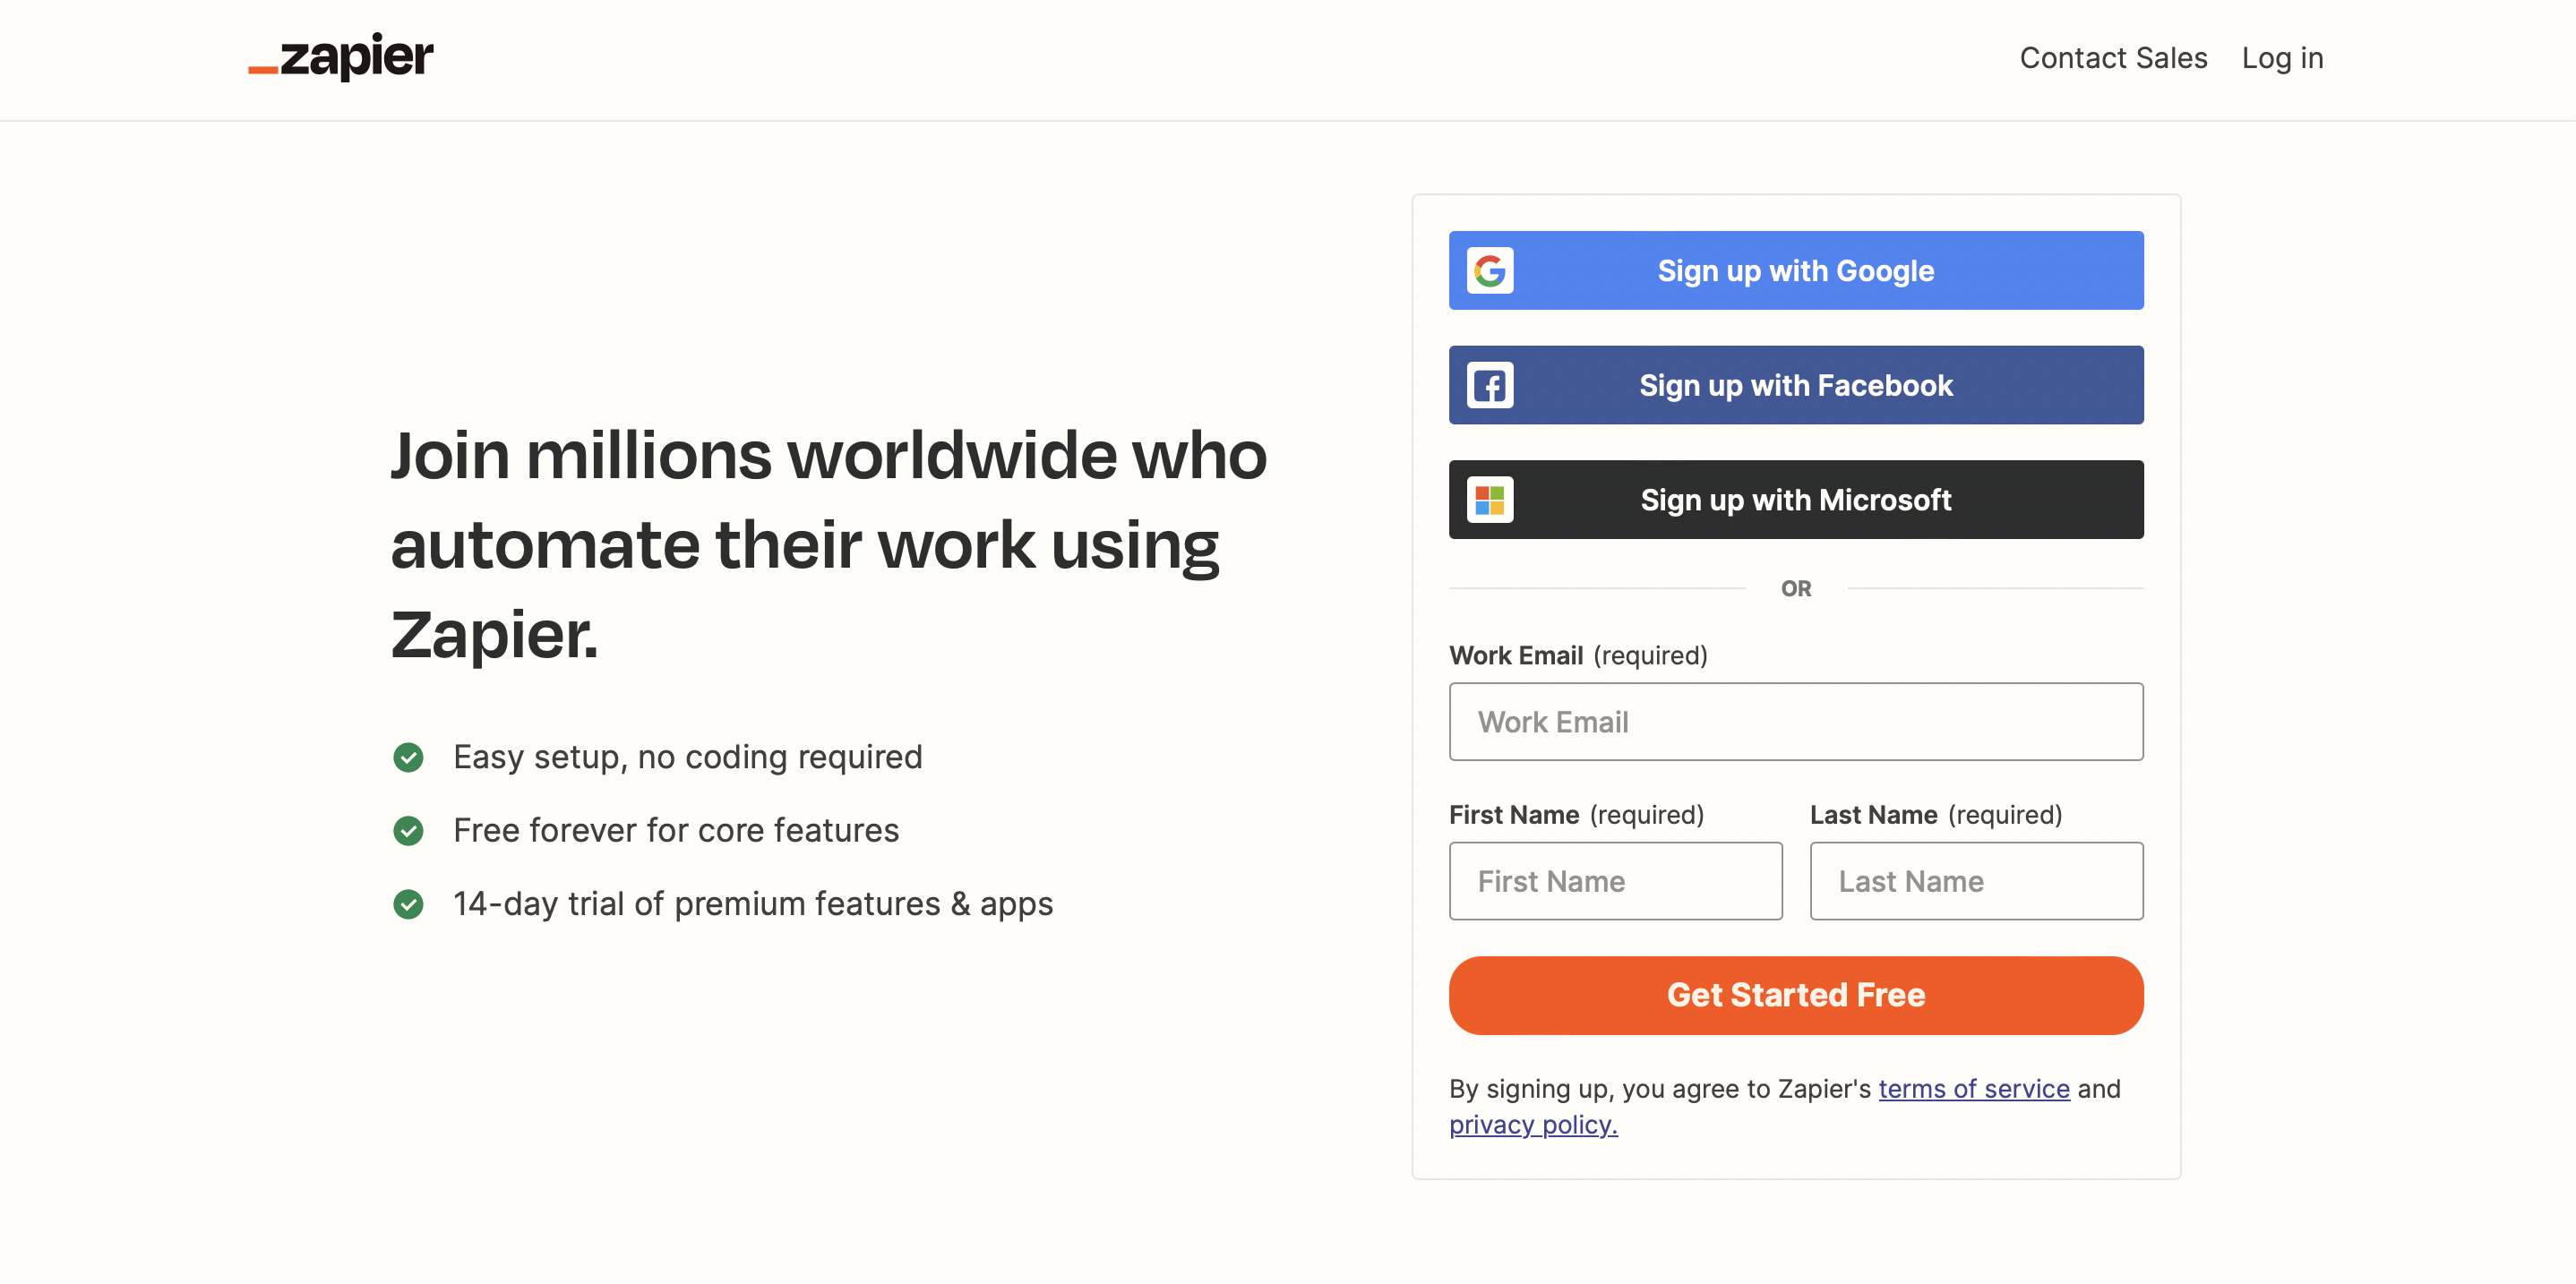
In order to connect Zapier to your Maidily account you need to have a Zapier account. If you do not have one yet, you can sign up for a free account or start a trial to check out premium features.
Go to Zapier's sign-up page and start by clicking a 'Sign up with Google/Facebook/Microsoft' button, or entering your name and email and clicking the orange 'Sign Up' button.
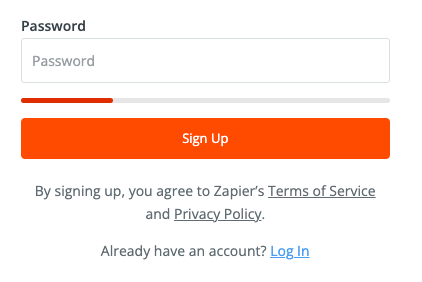
Next, create a password for your account and click the 'Sign Up' button.
There is an optional setup screen that will appear next.
You can enter more specific information about your role and business size, and then select which apps you regularly use for personalized suggestions.
Click the blue 'Finish Setup' button to complete the account setup.
You can also skip this step by clicking the grey 'Skip' button at the bottom of the screen. You will be brought to the main dashboard.
Connecting your Zapier account
To connect your Zapier account to Maidily, go to (in your Maidily account):
- Settings -> Integrations -> Zapier
- Click the 'Connect' button in the Zapier box

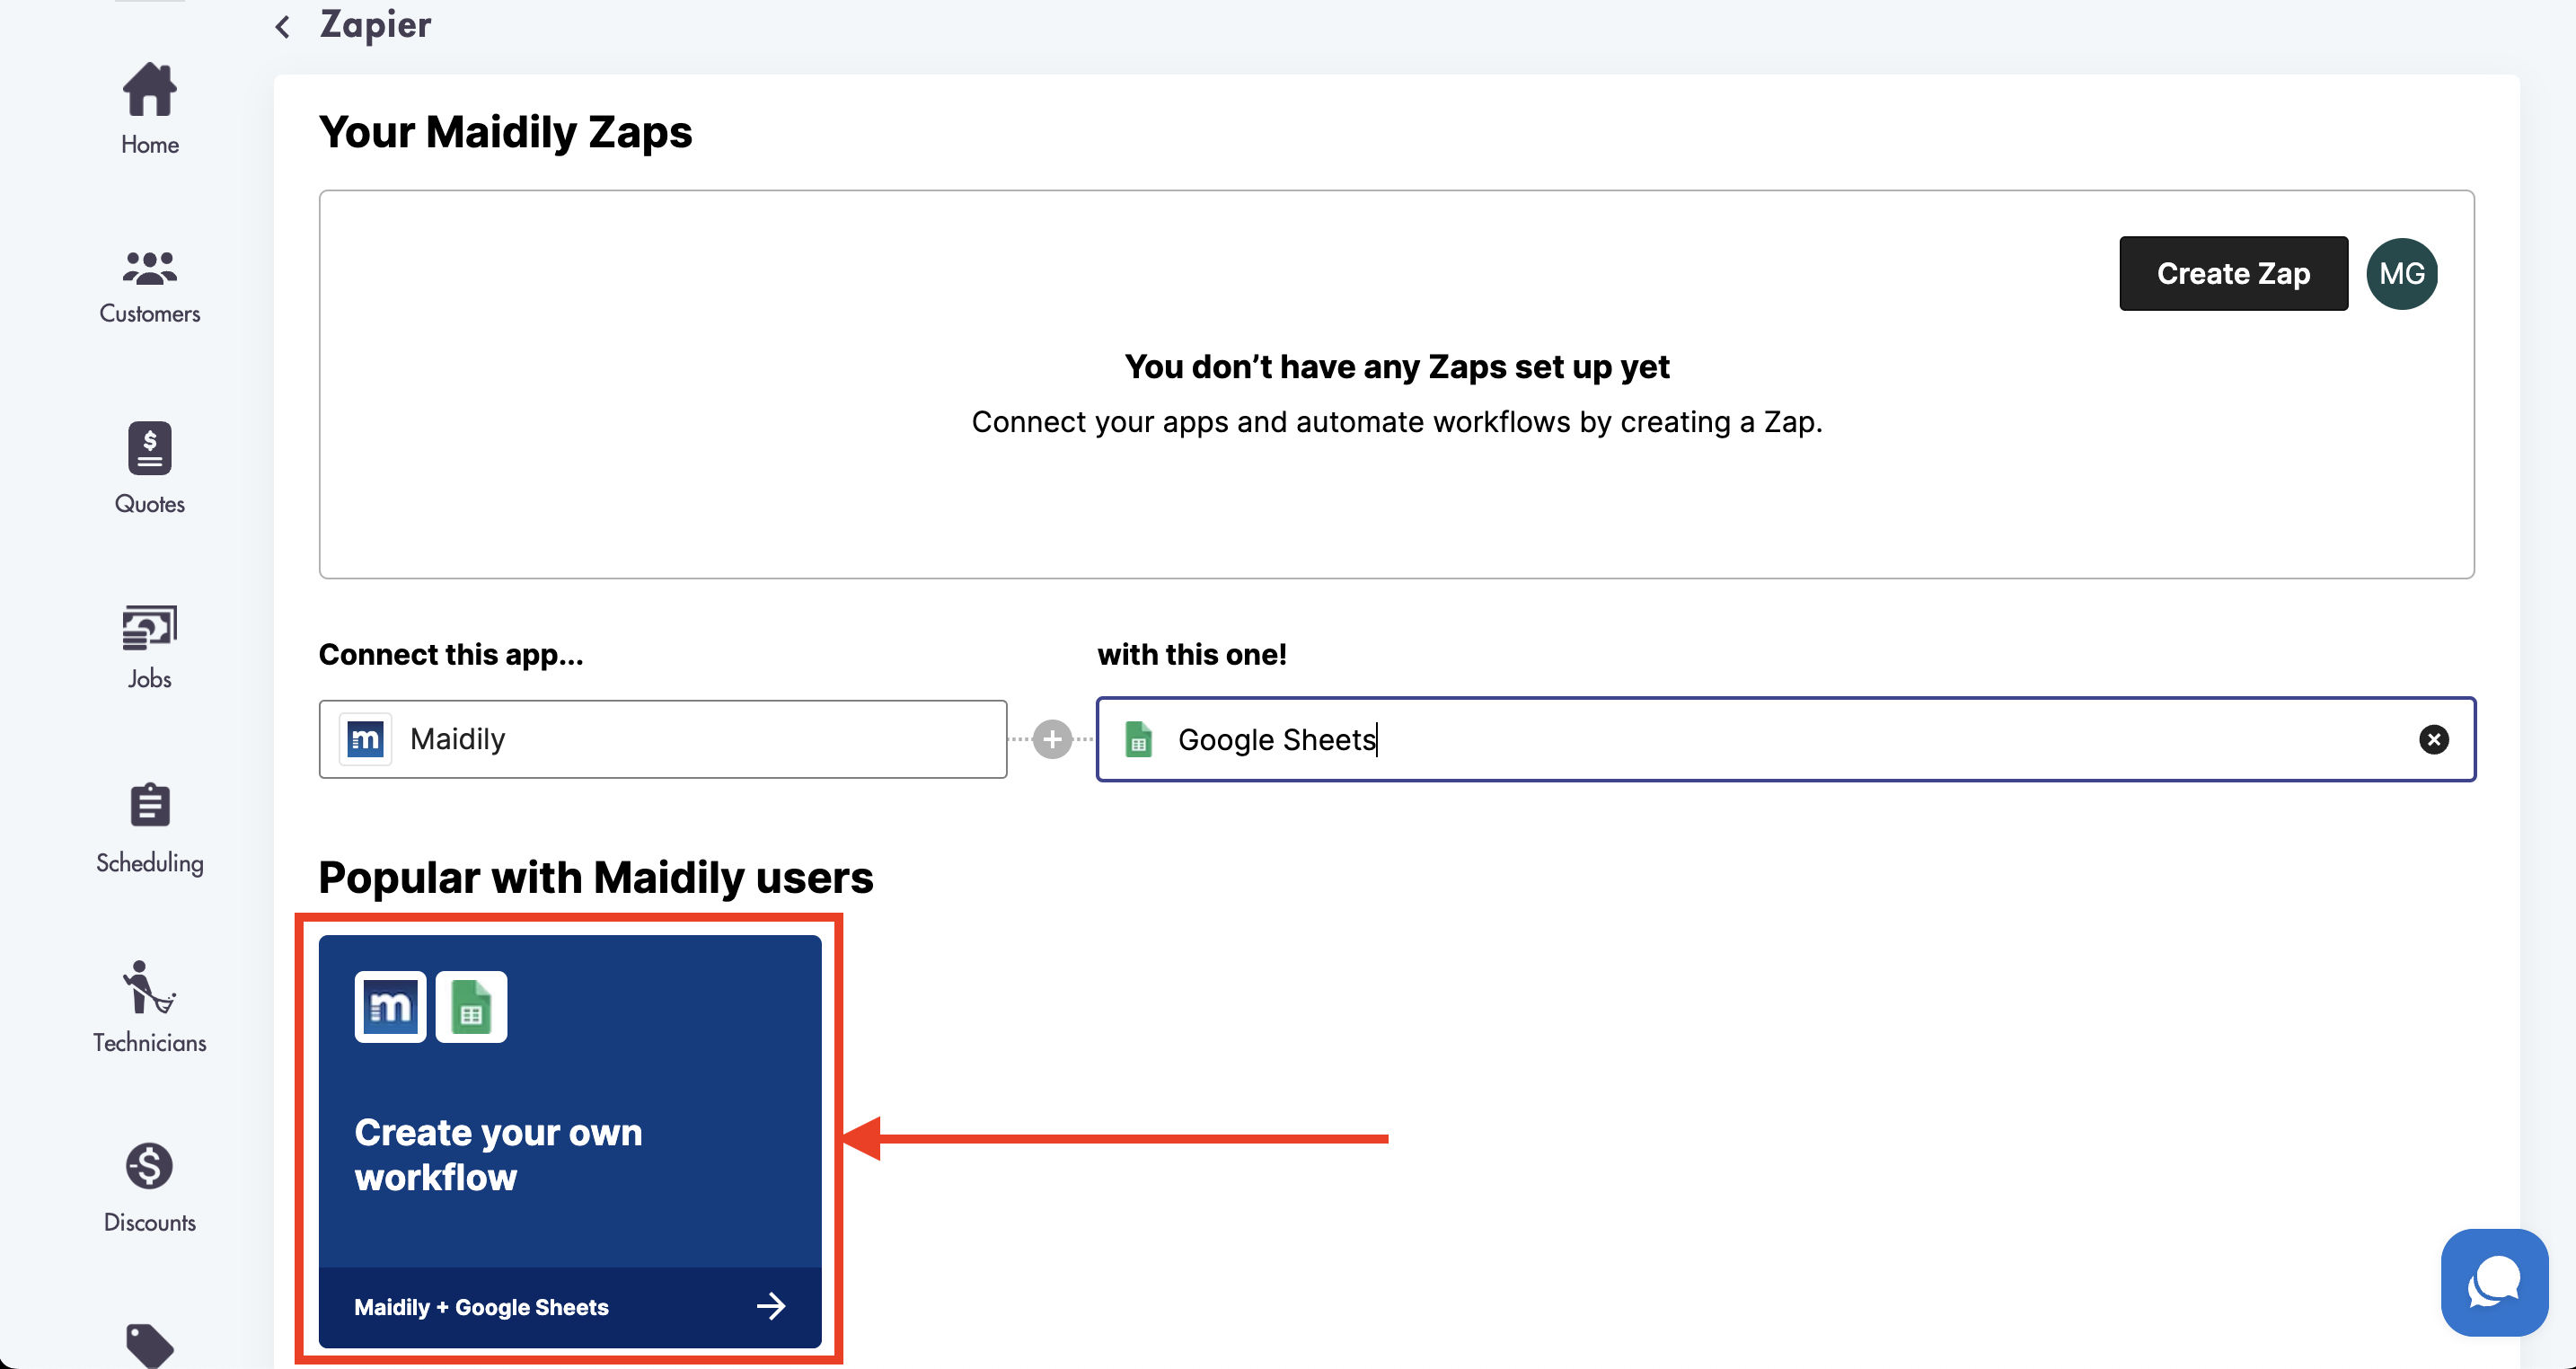
- Choose from one of our premade templates (Zaps) to use or create your own by searching for the app you want to connect with

- Once you select an app to connect with click on 'Create your own workflow'
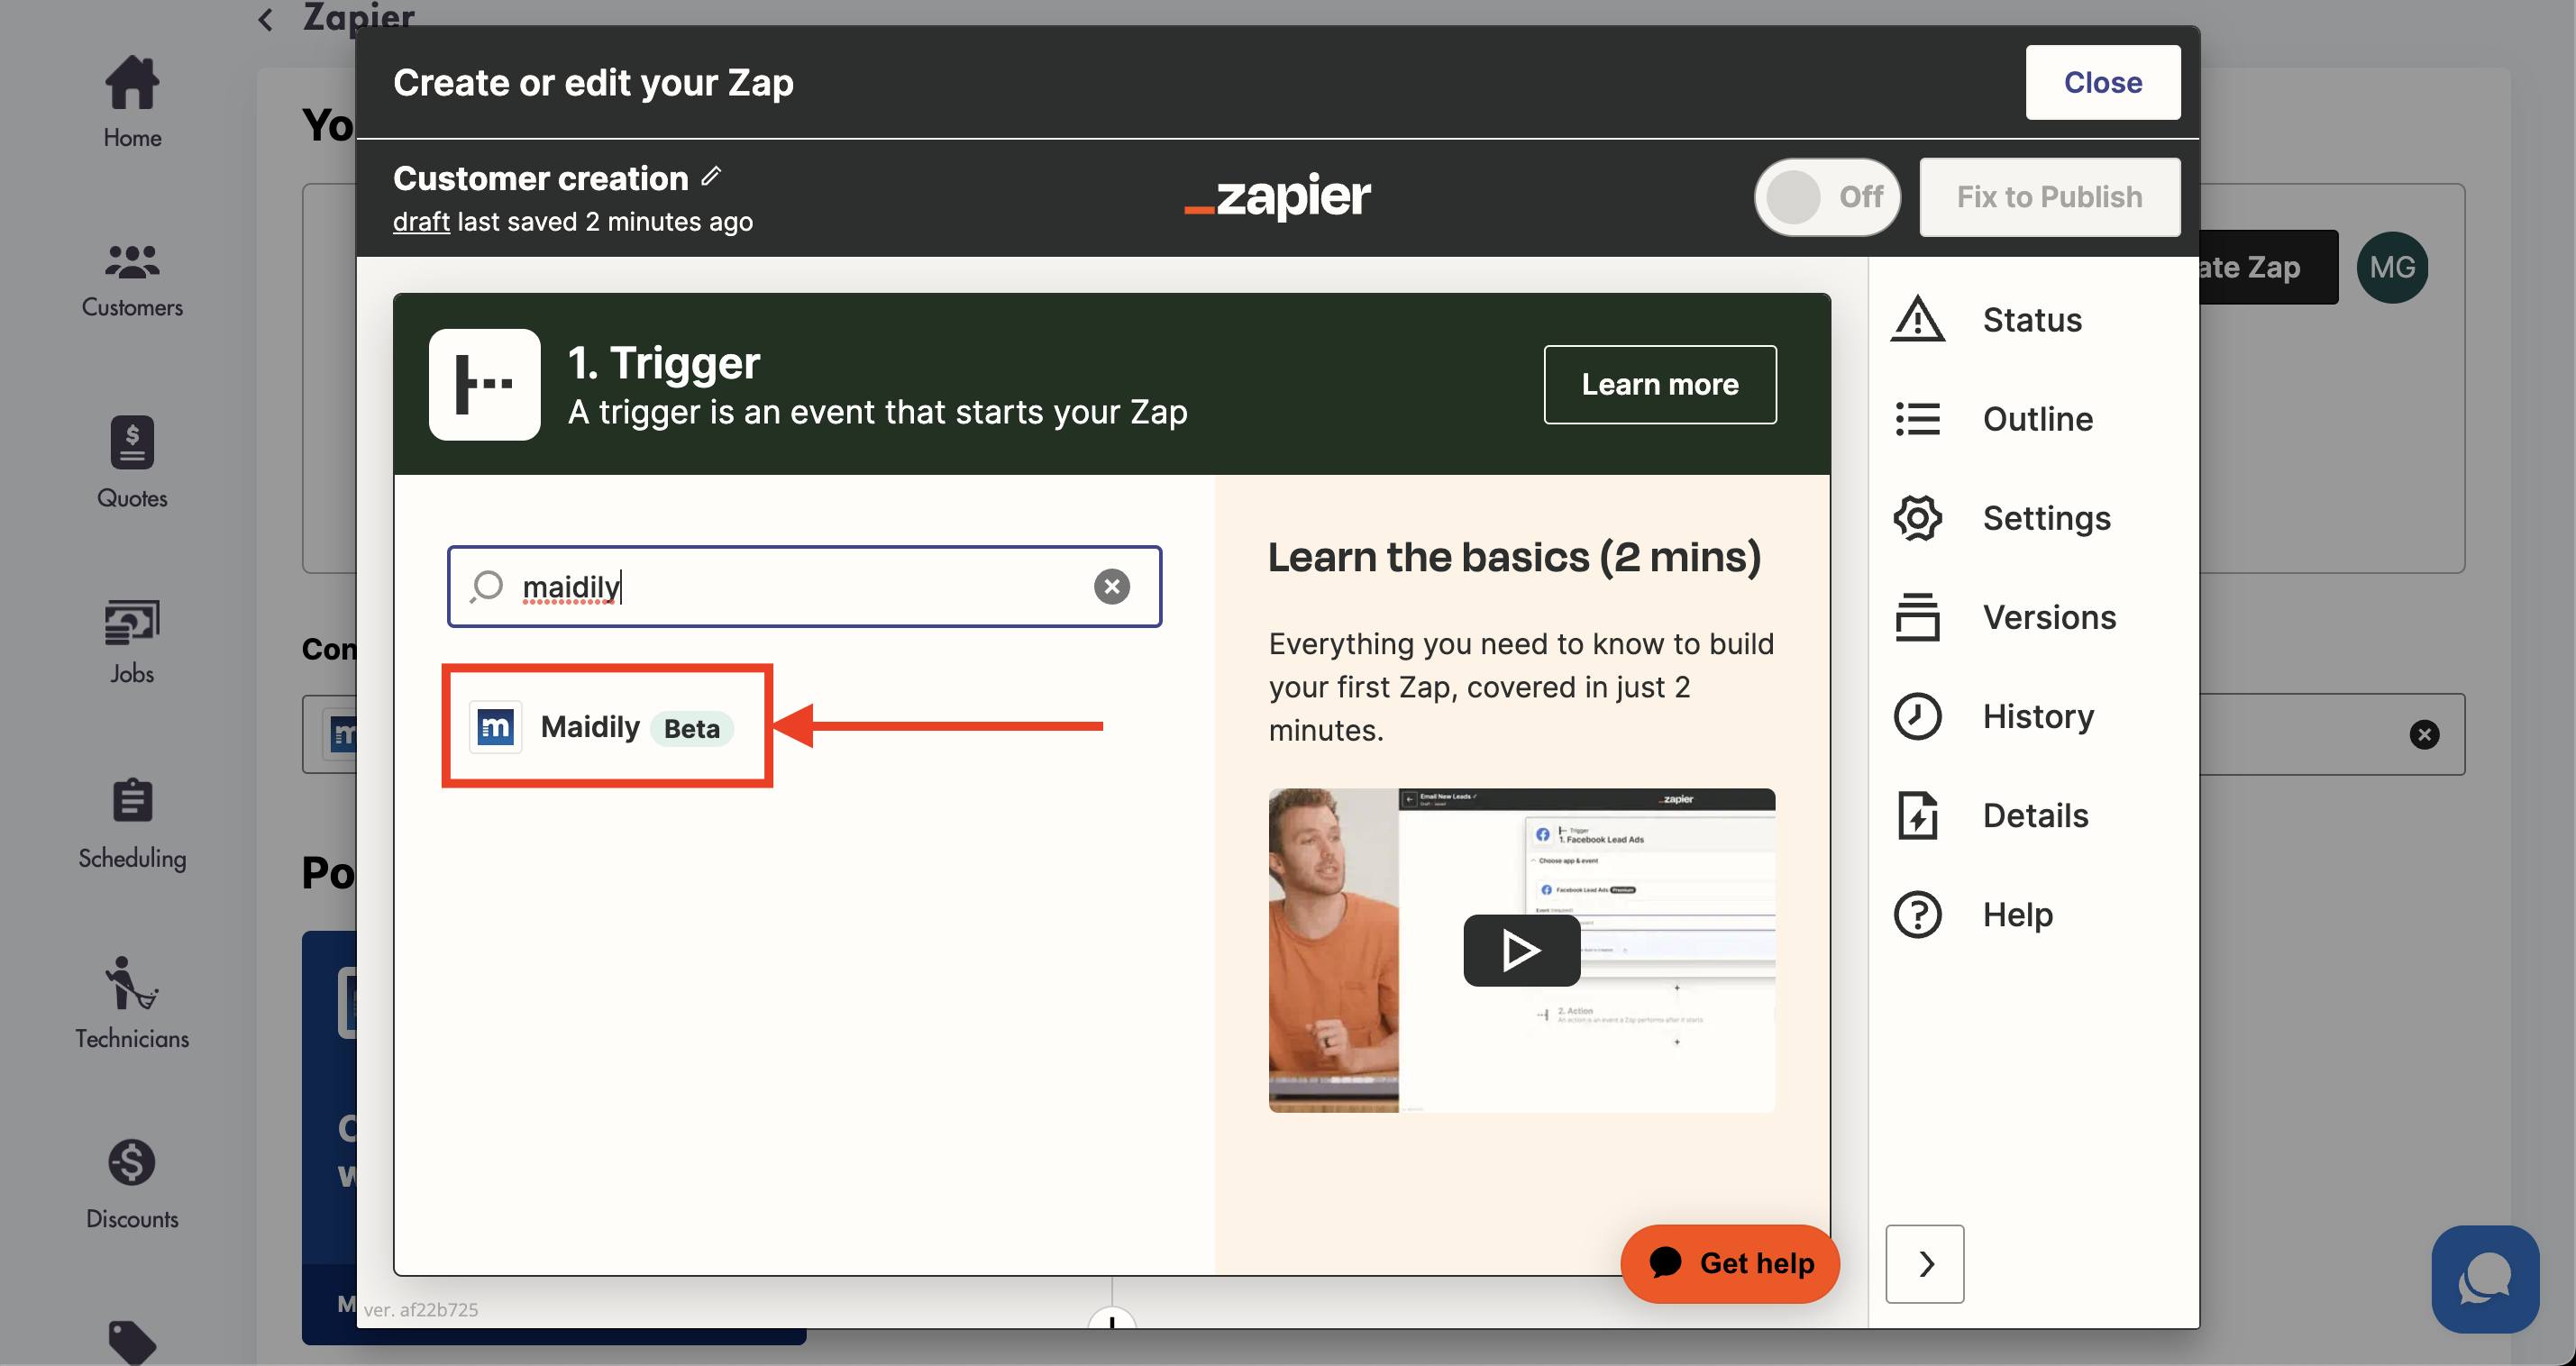
- You set a name for your 'Zap' for organizational purposes

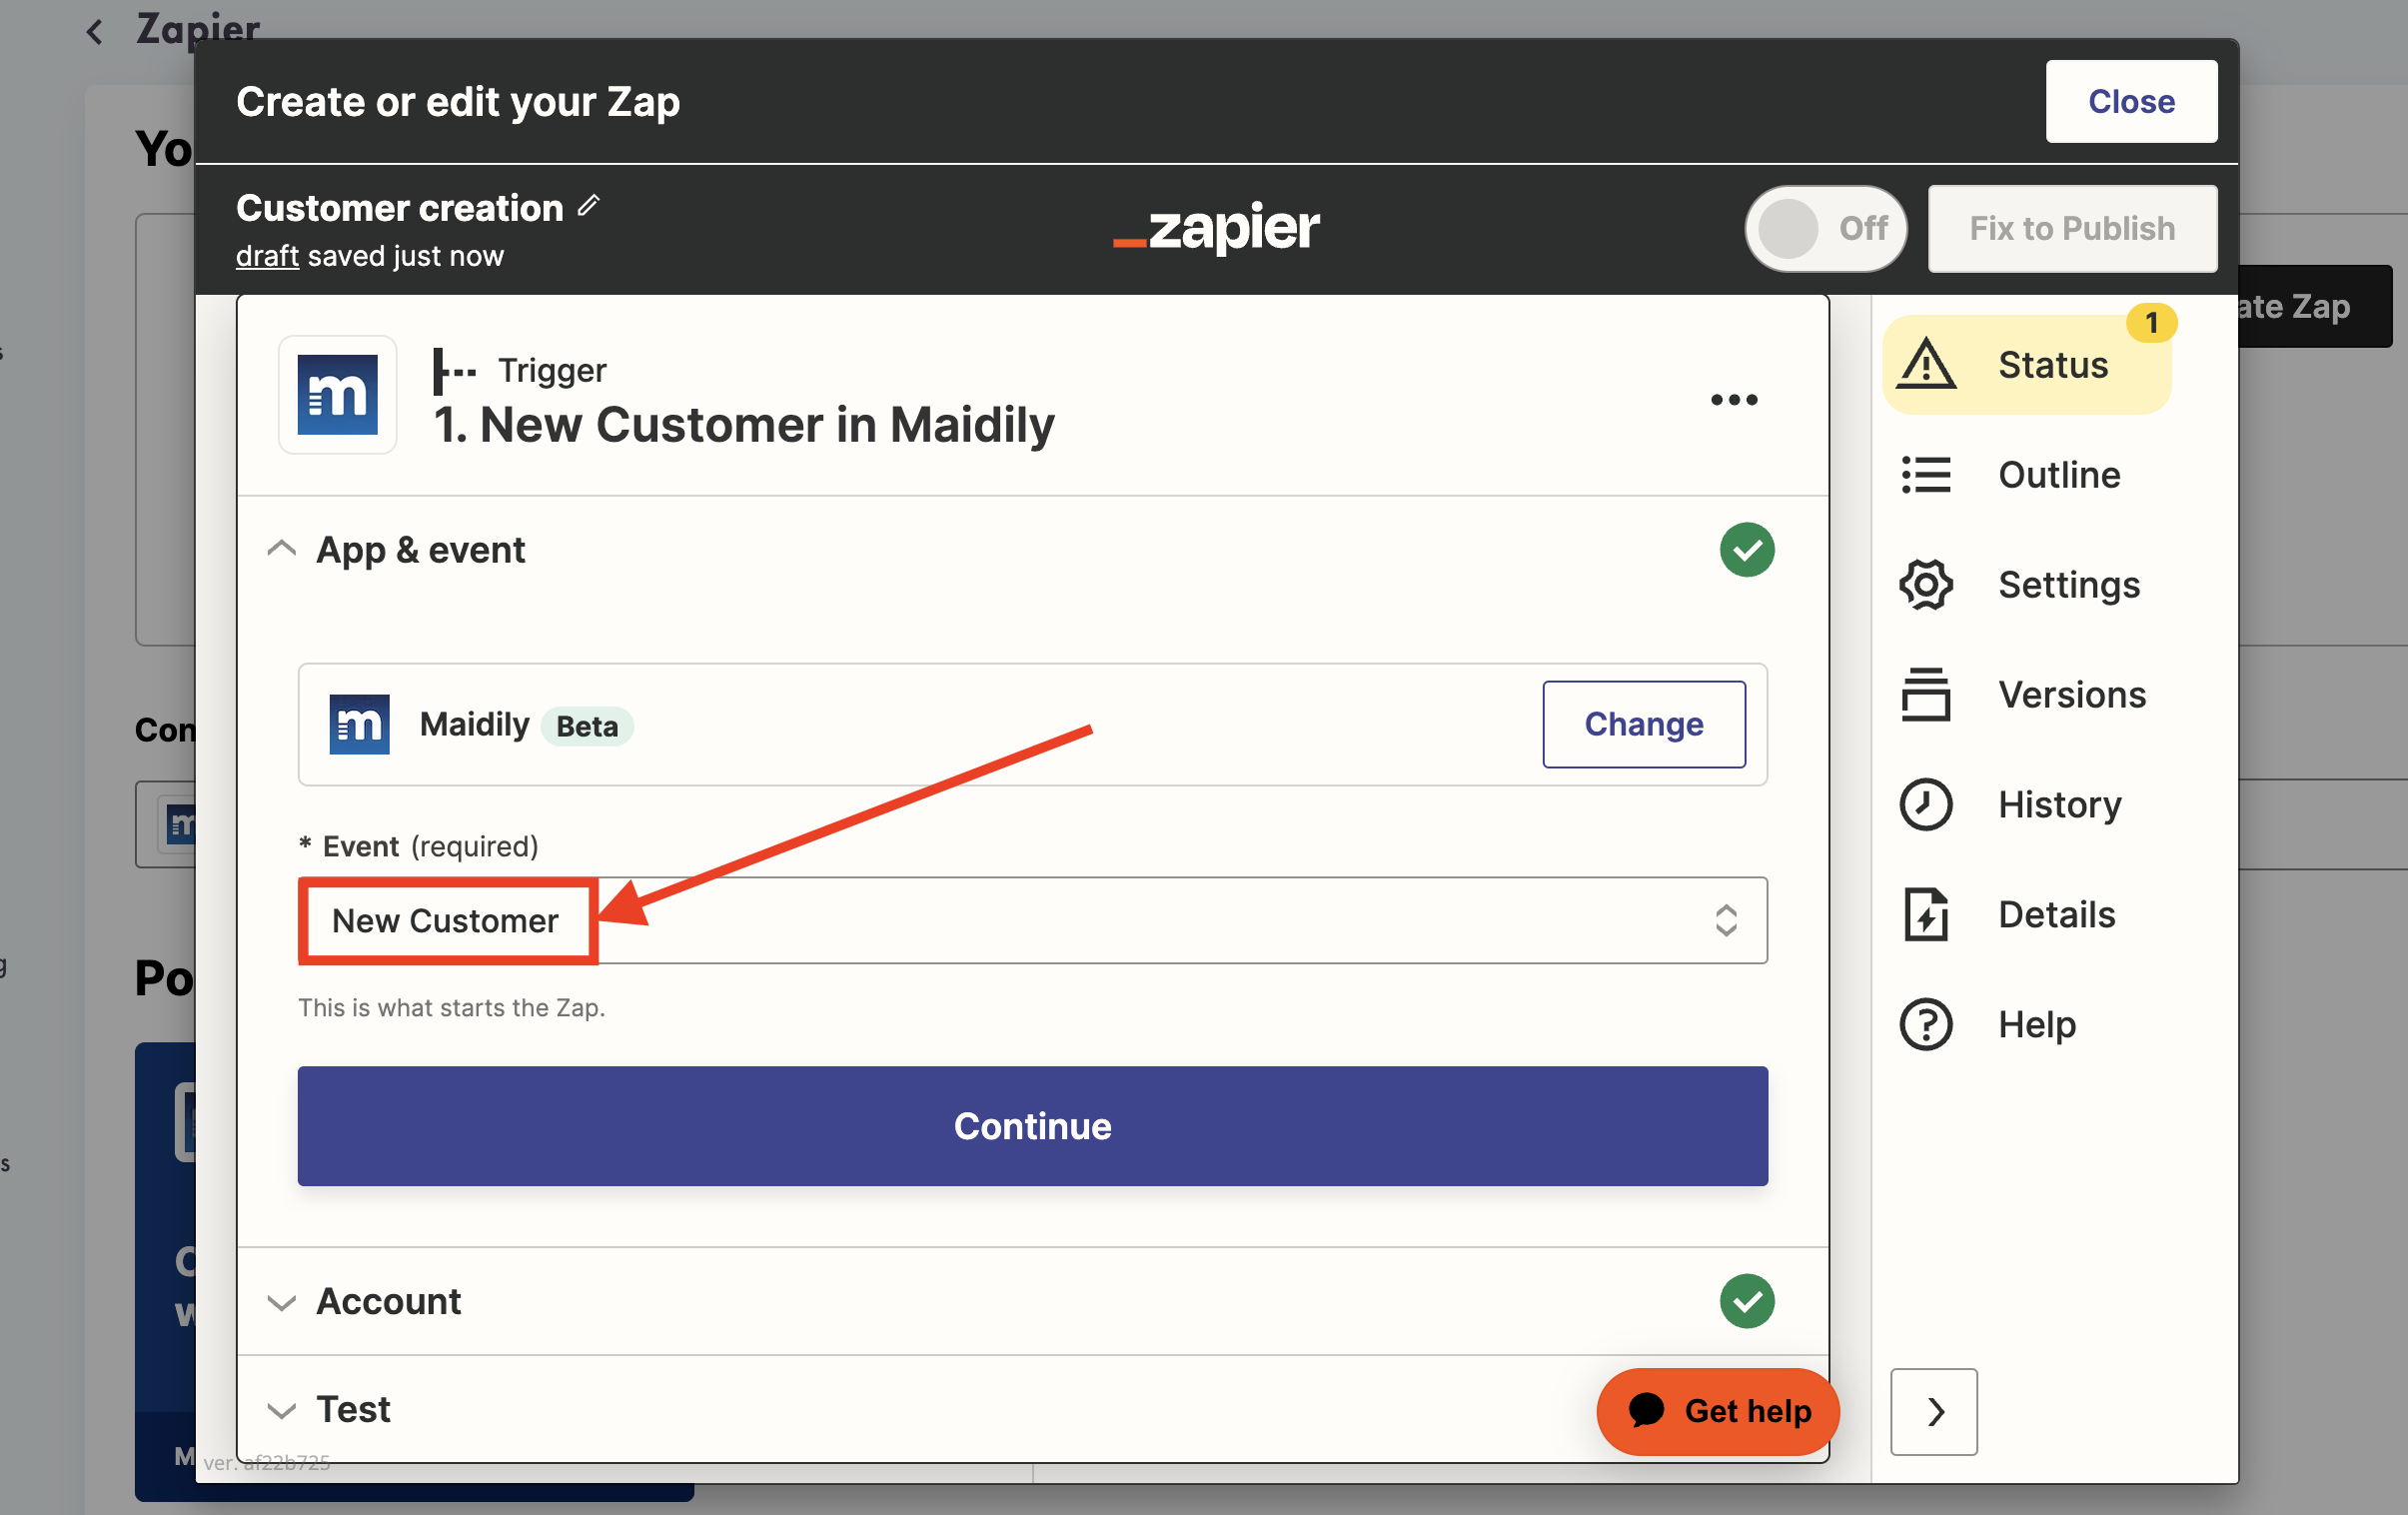
- Select Maidily as the 'trigger'
- The user experience view may differ in Zapier from customer to customer
- Next you have to select a 'Trigger Event' (we have 18 triggers)
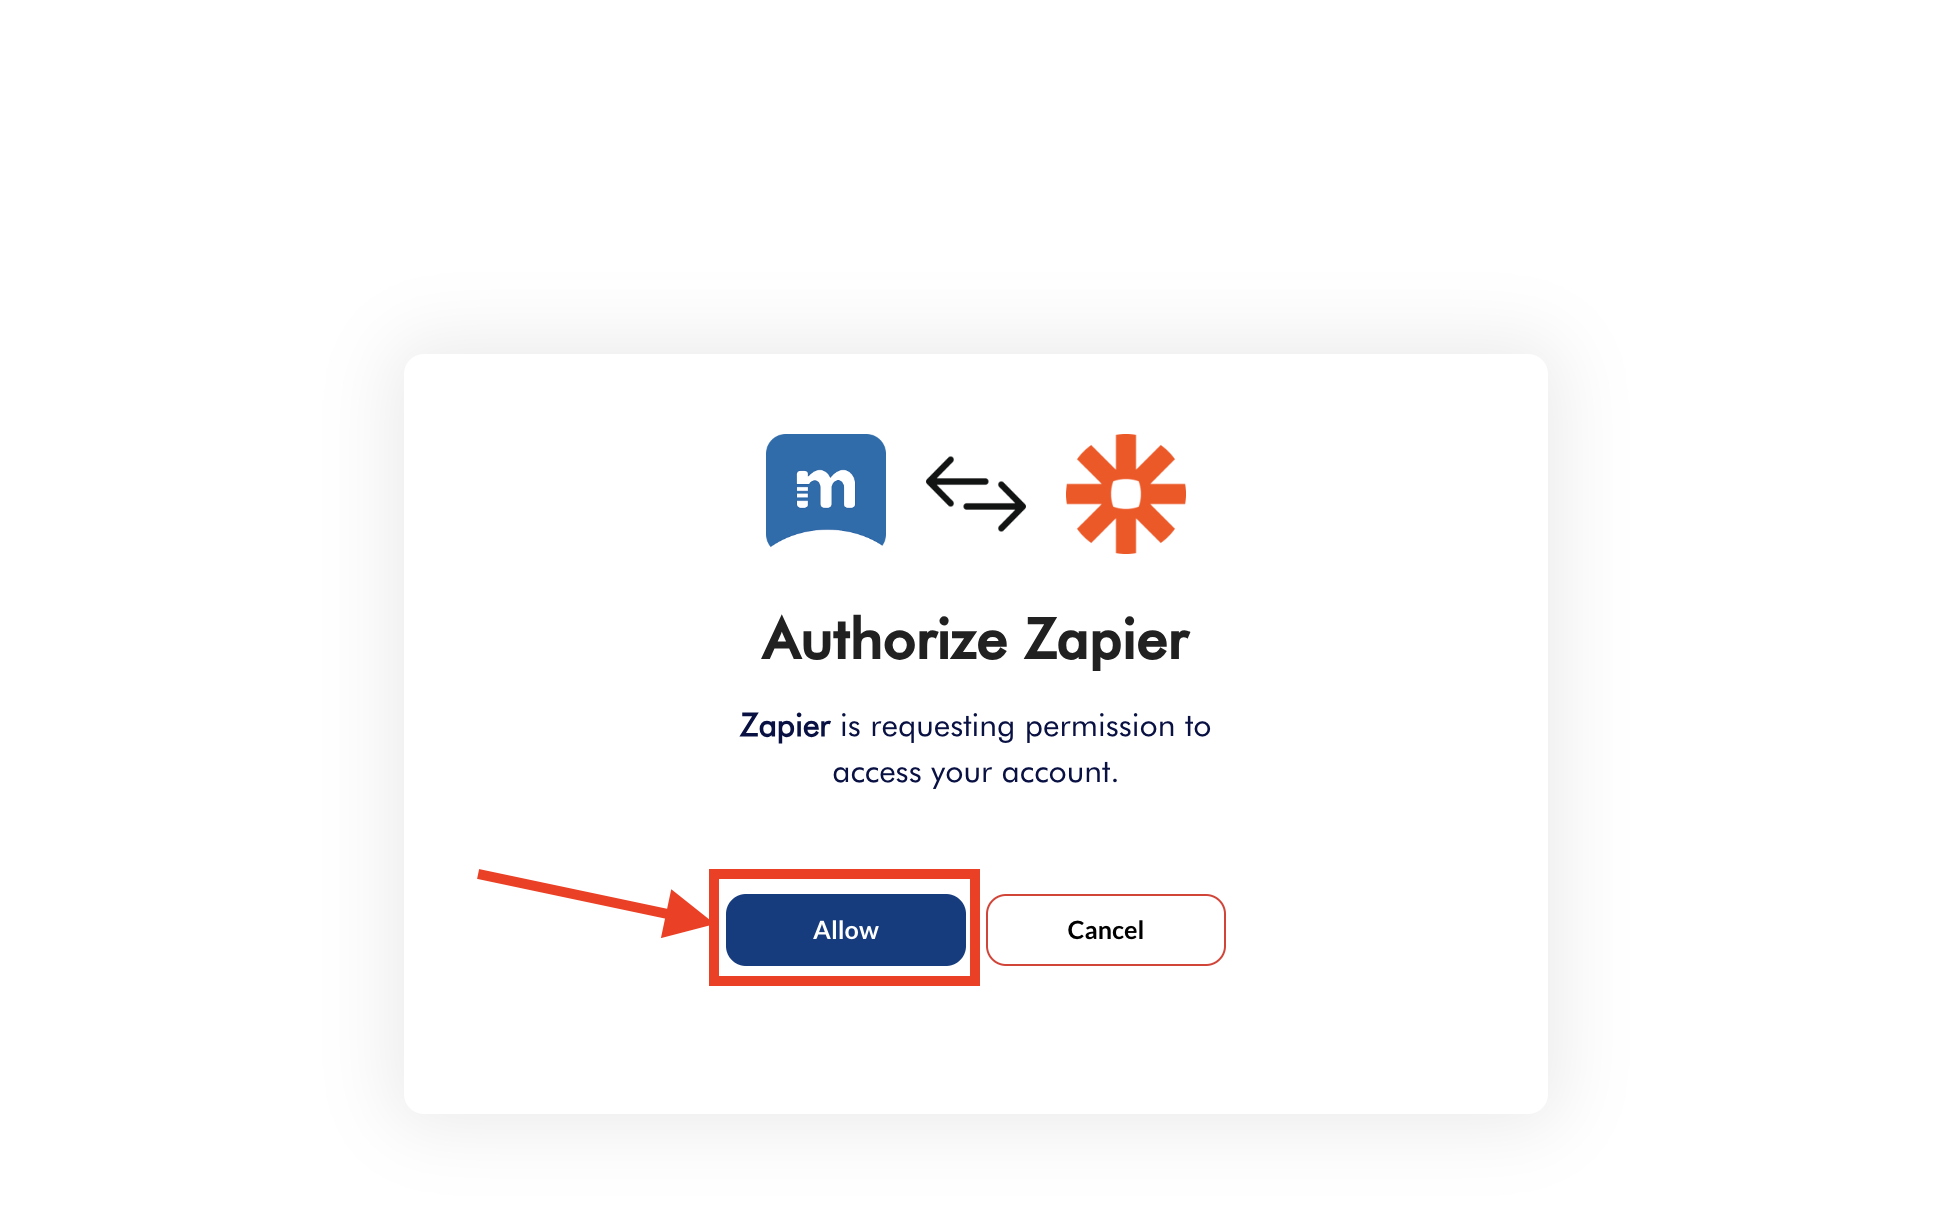
- You will be asked to sign into your Maidily

- Please make sure to select 'Allow'
- You will be prompted to test the connection
- Click 'Test trigger'
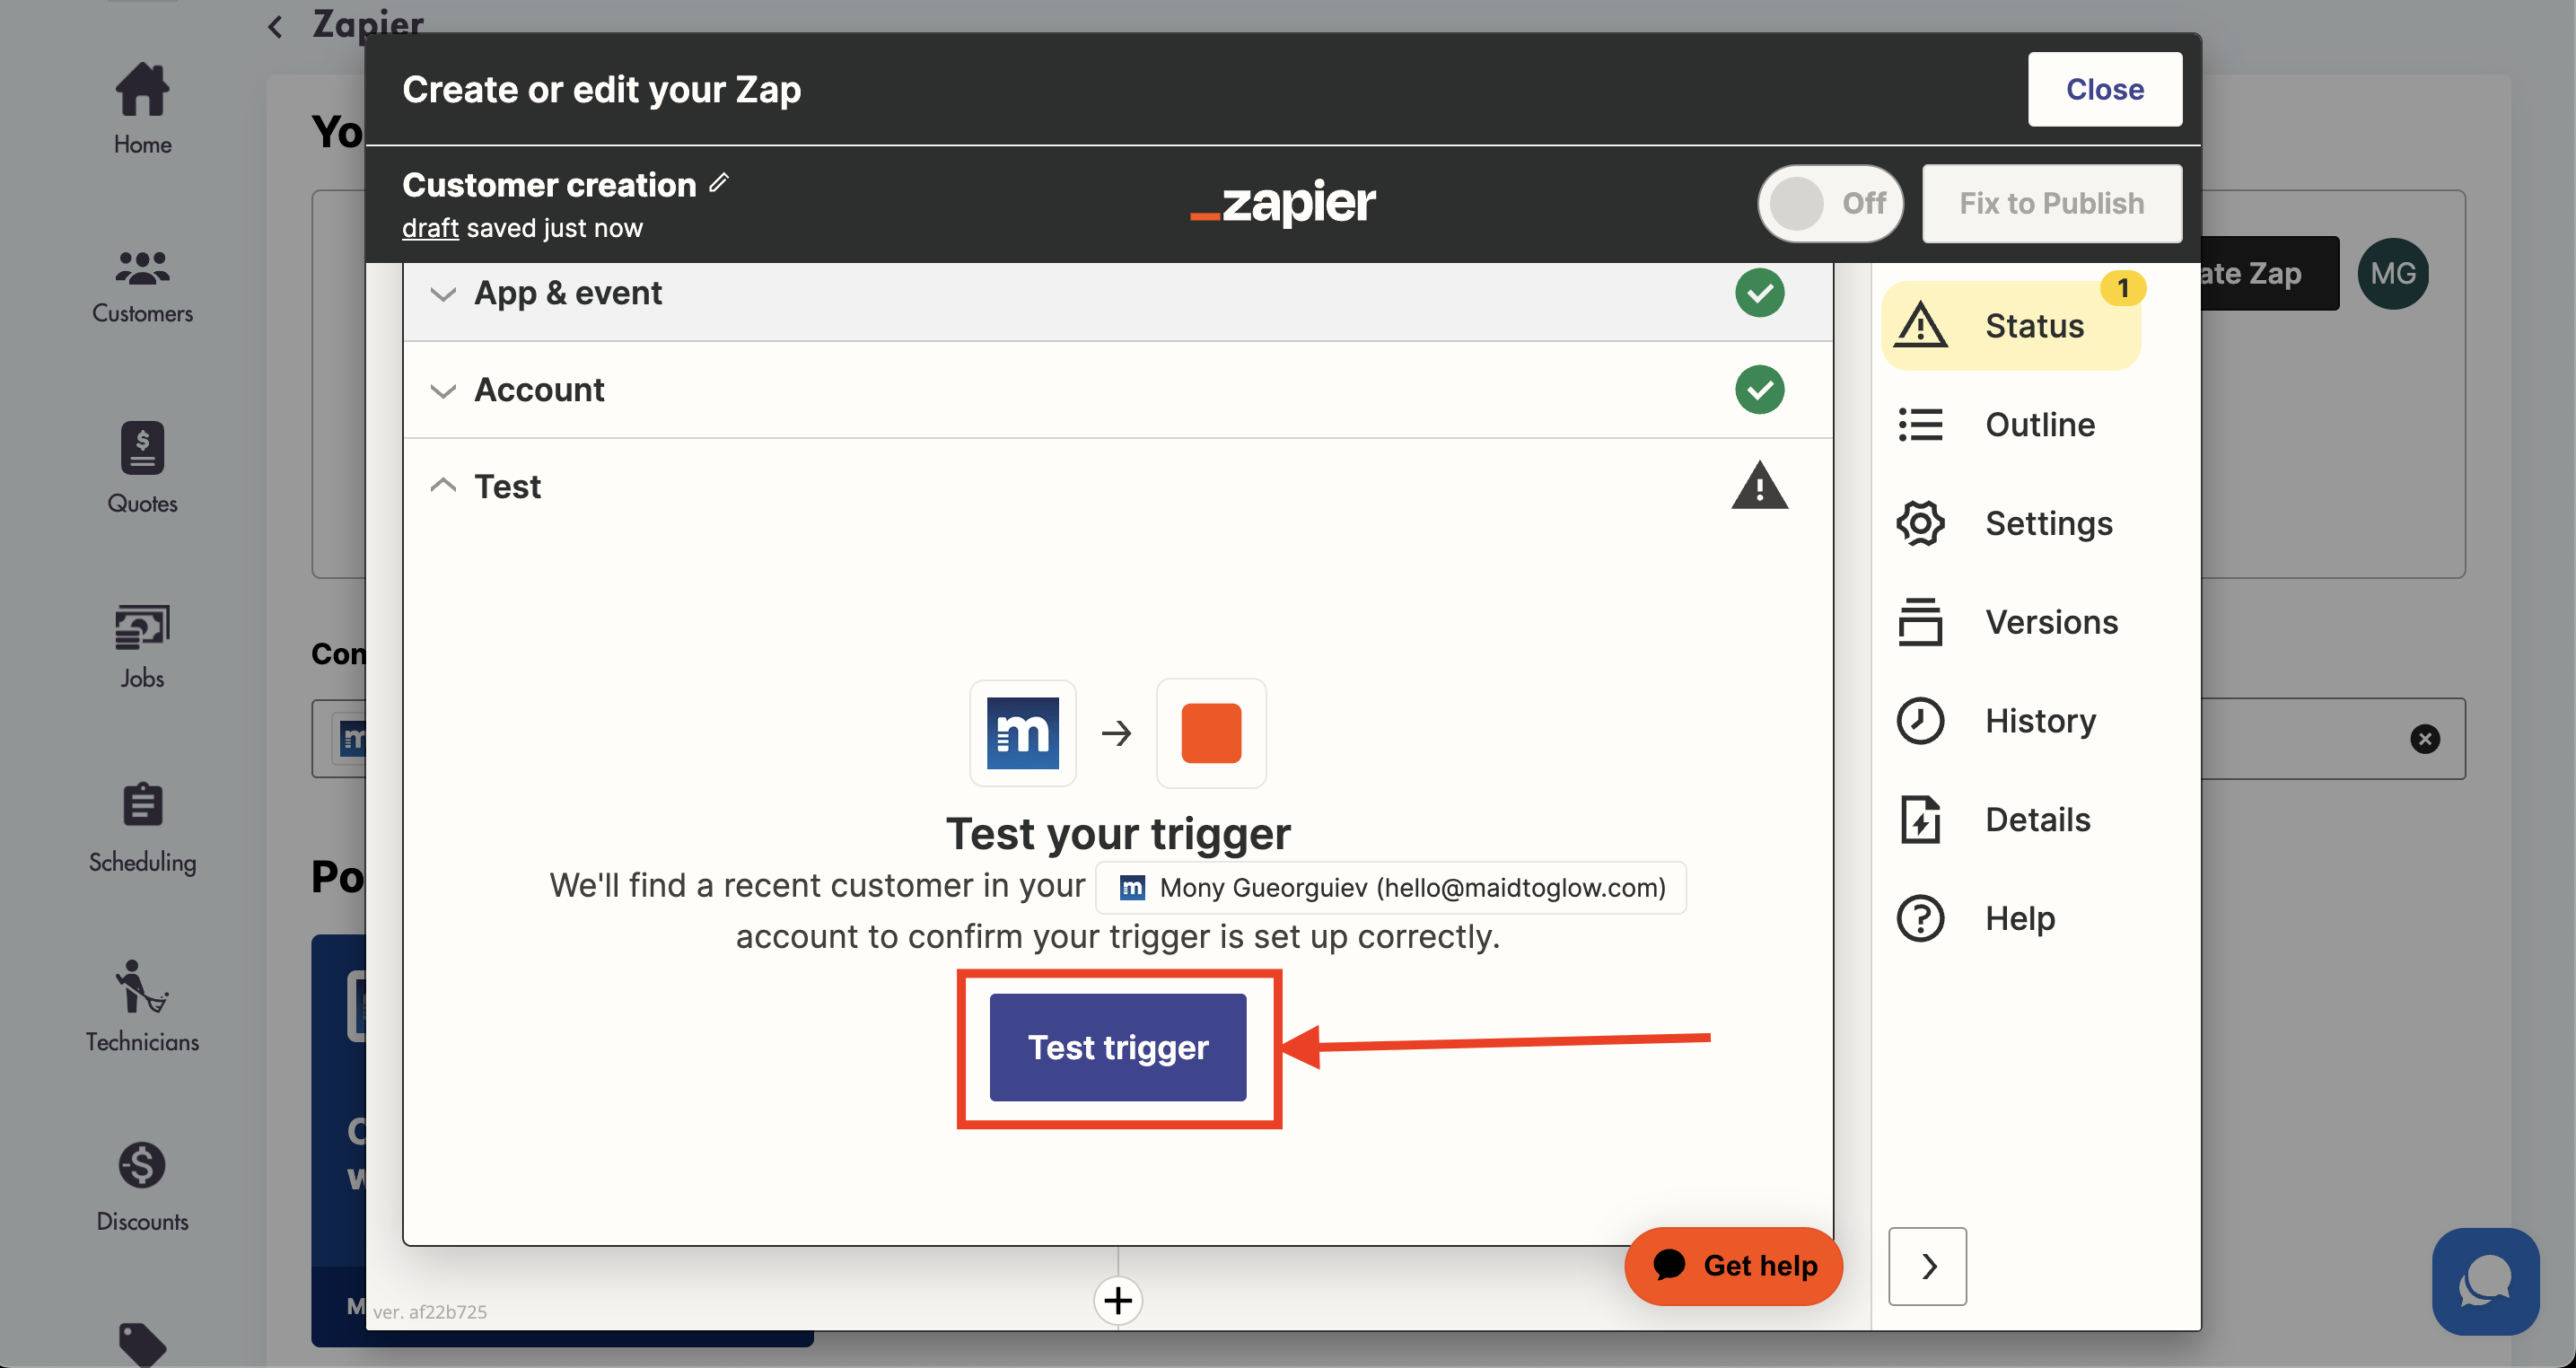
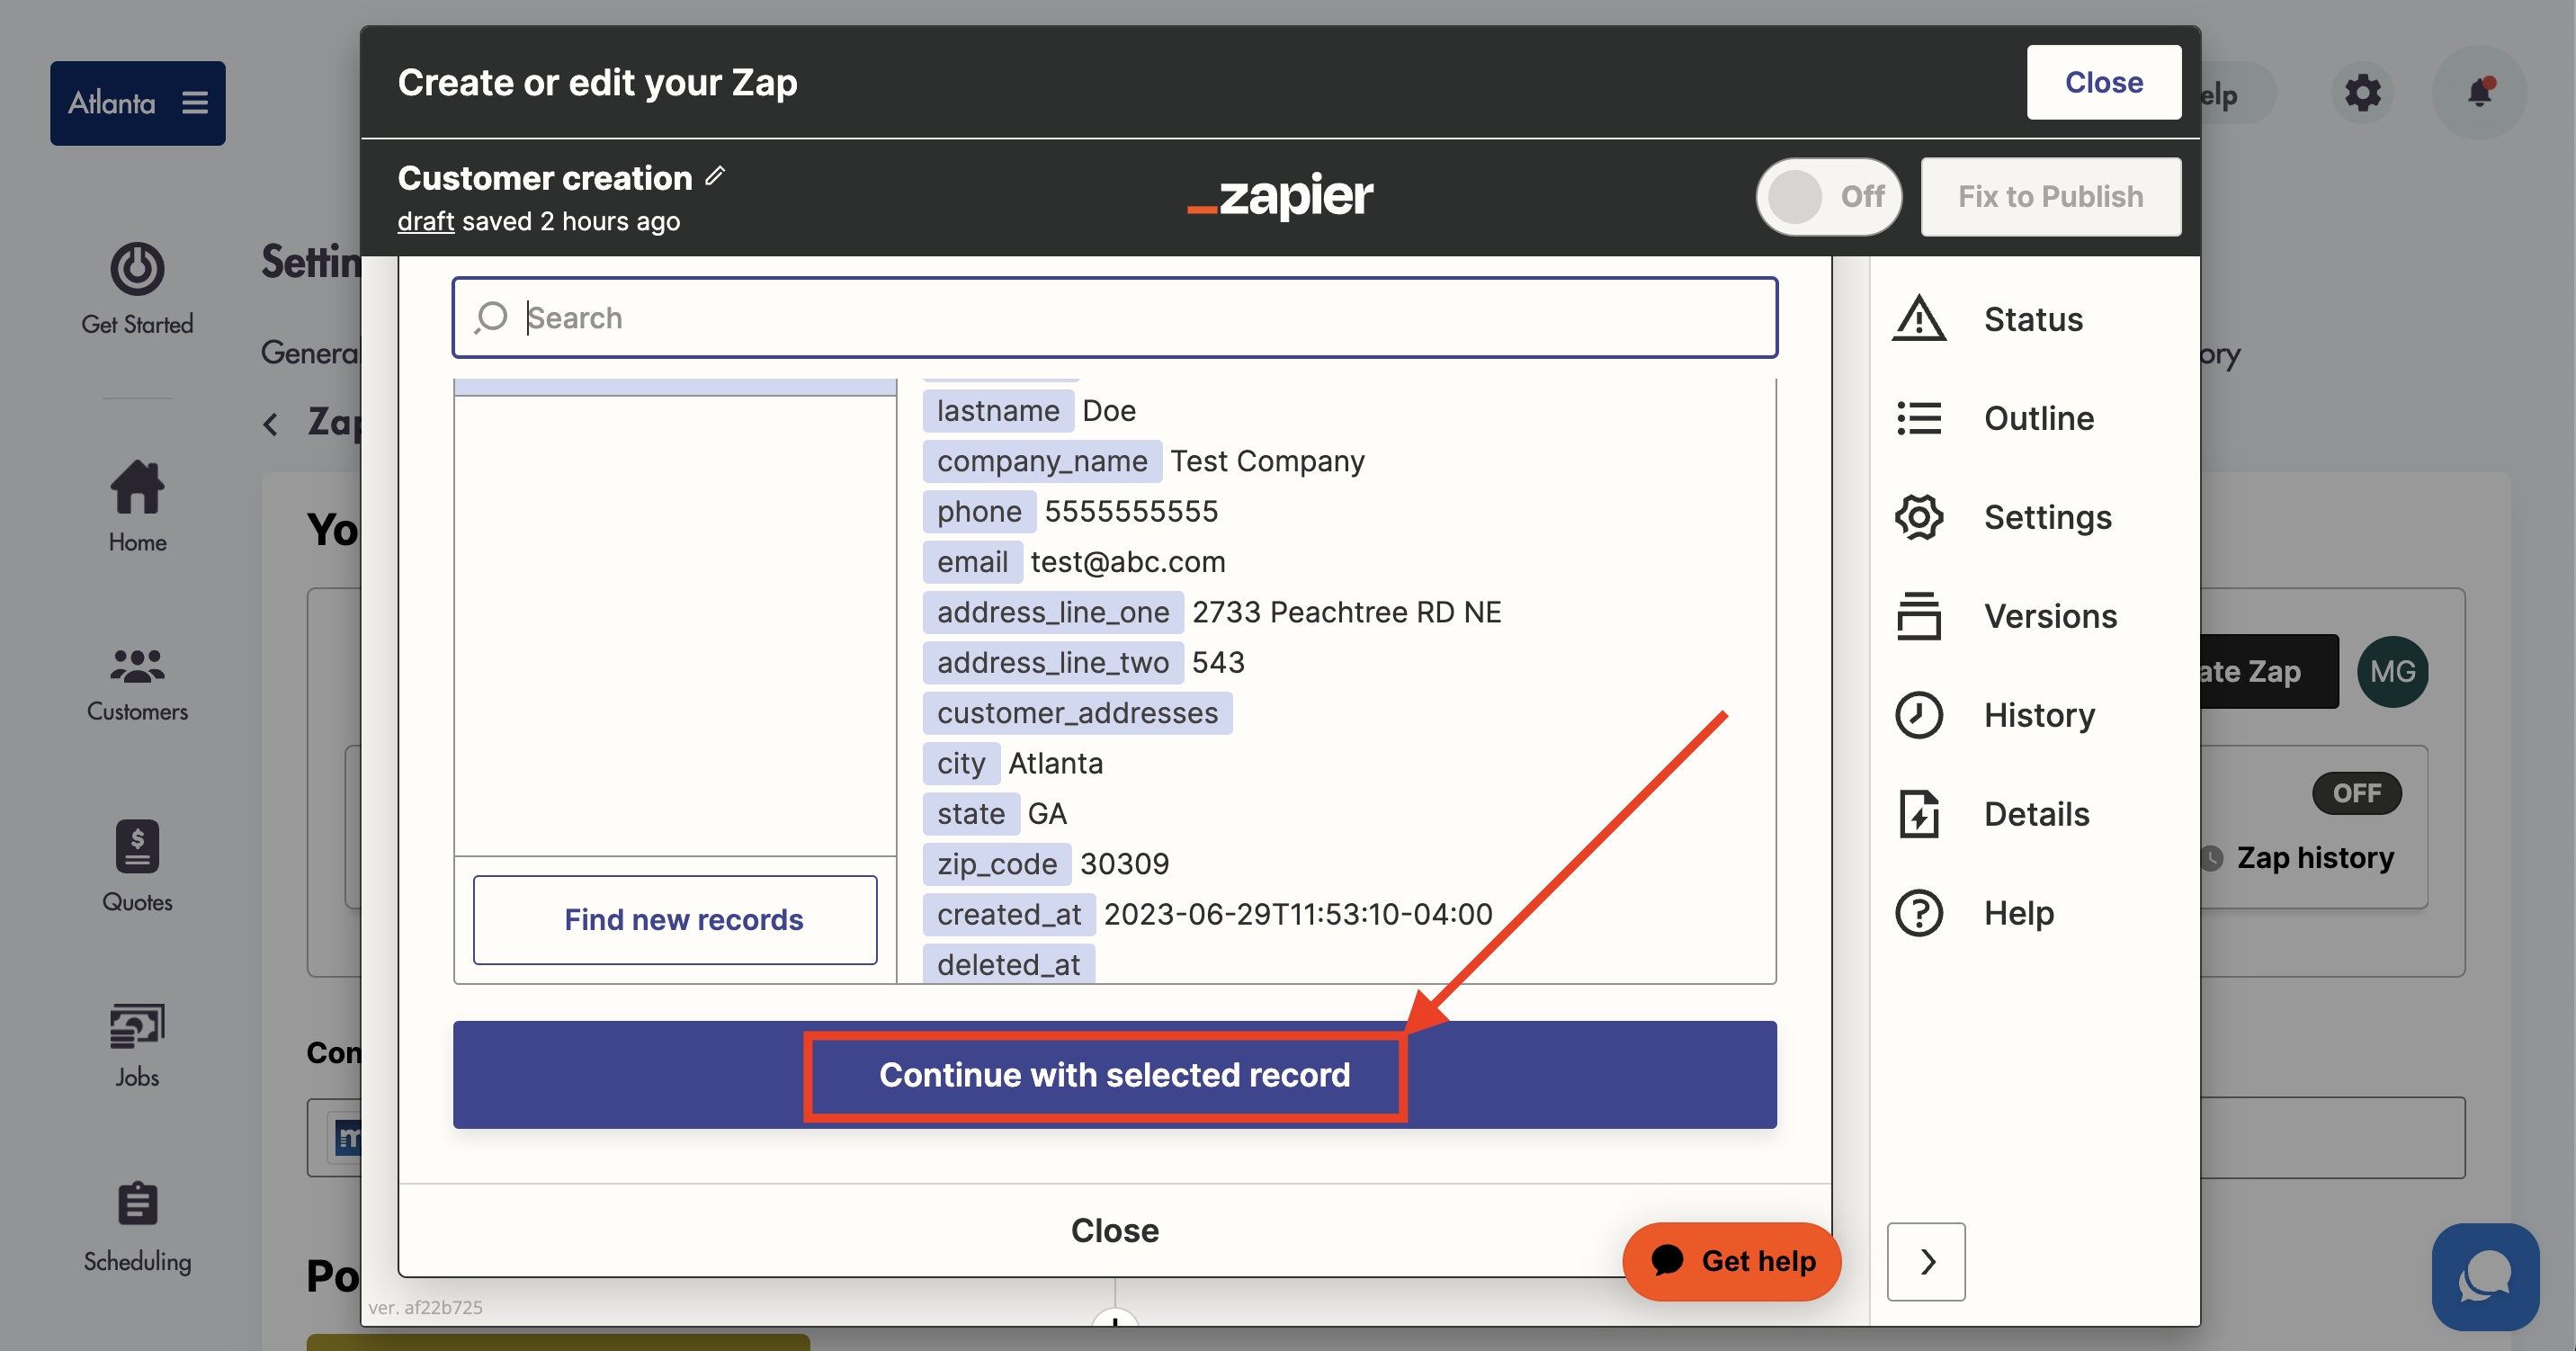
- In the next screen you will be asked select from test data that will be used in testing the actual Zap connection
- If no test data is selected by Zapier when you press 'Test trigger' you will need to create a test in your Maidily account directly and come back to this screen and try again. For example if you are creating a trigger for new customers you will need to create a new (test) customer in Maidily and come back to this screen so the test data can pull up
- Select an app in the next step that will receive the details from the trigger you have selected from Maidily
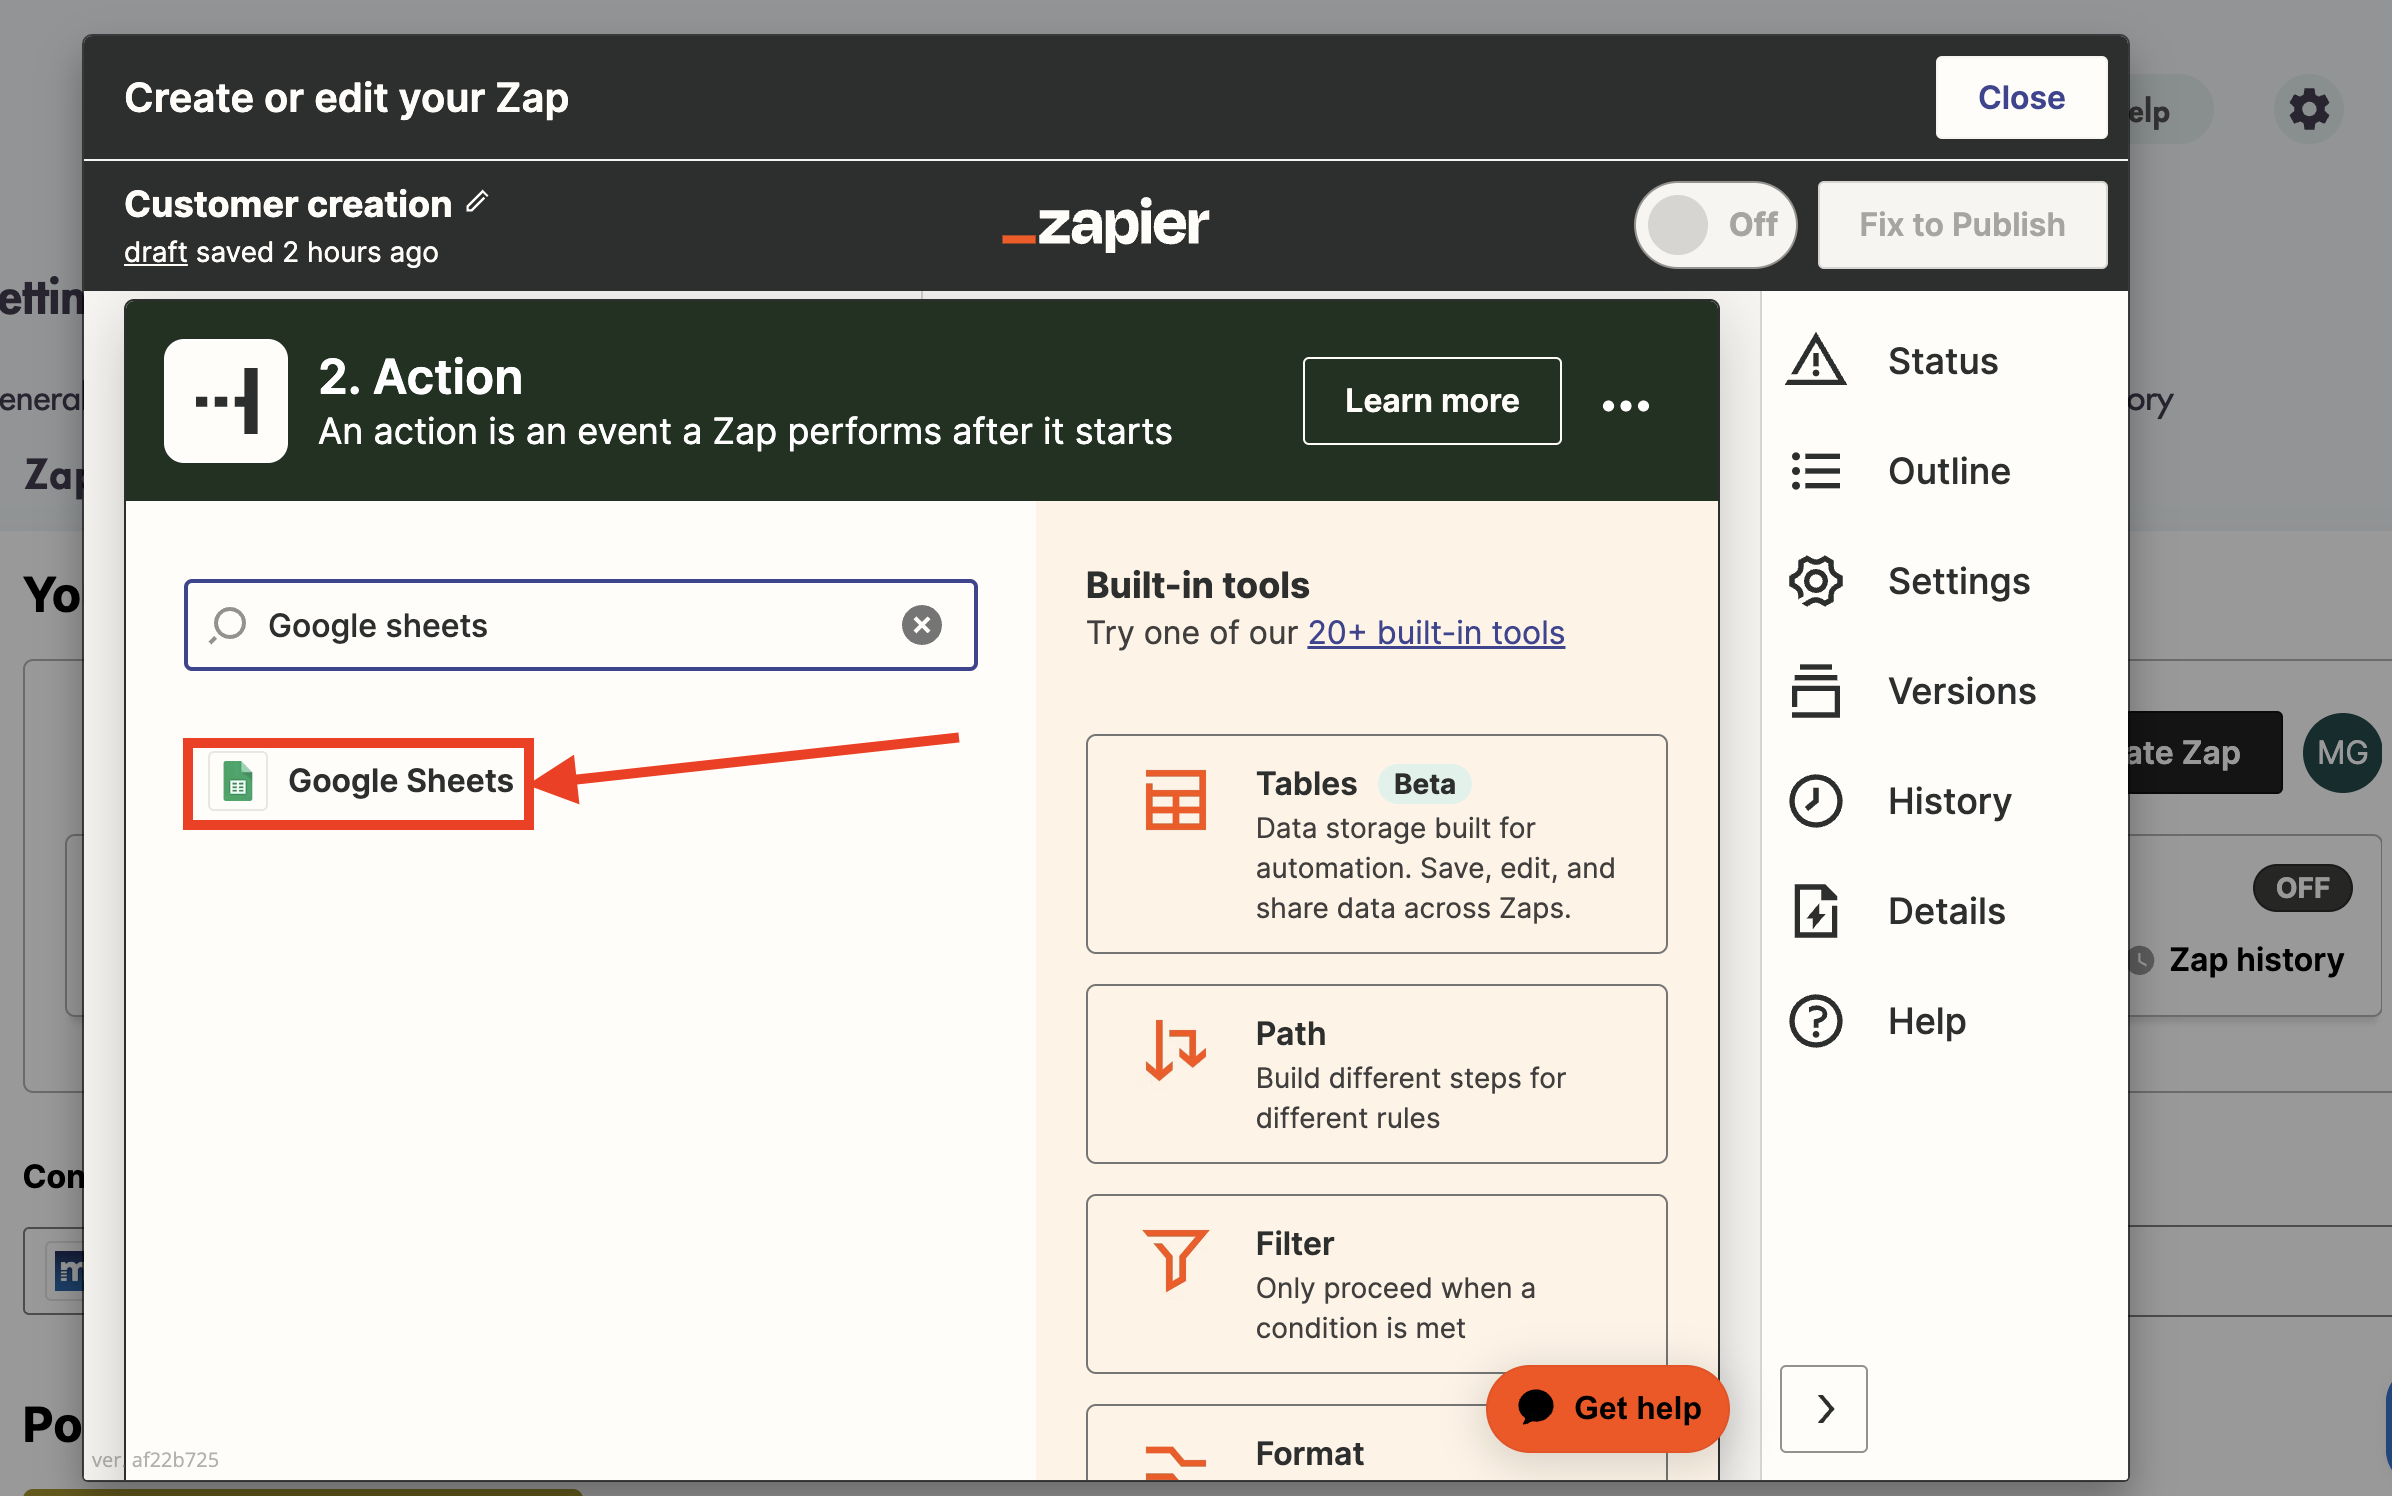
- Select an event based on the app selection you made

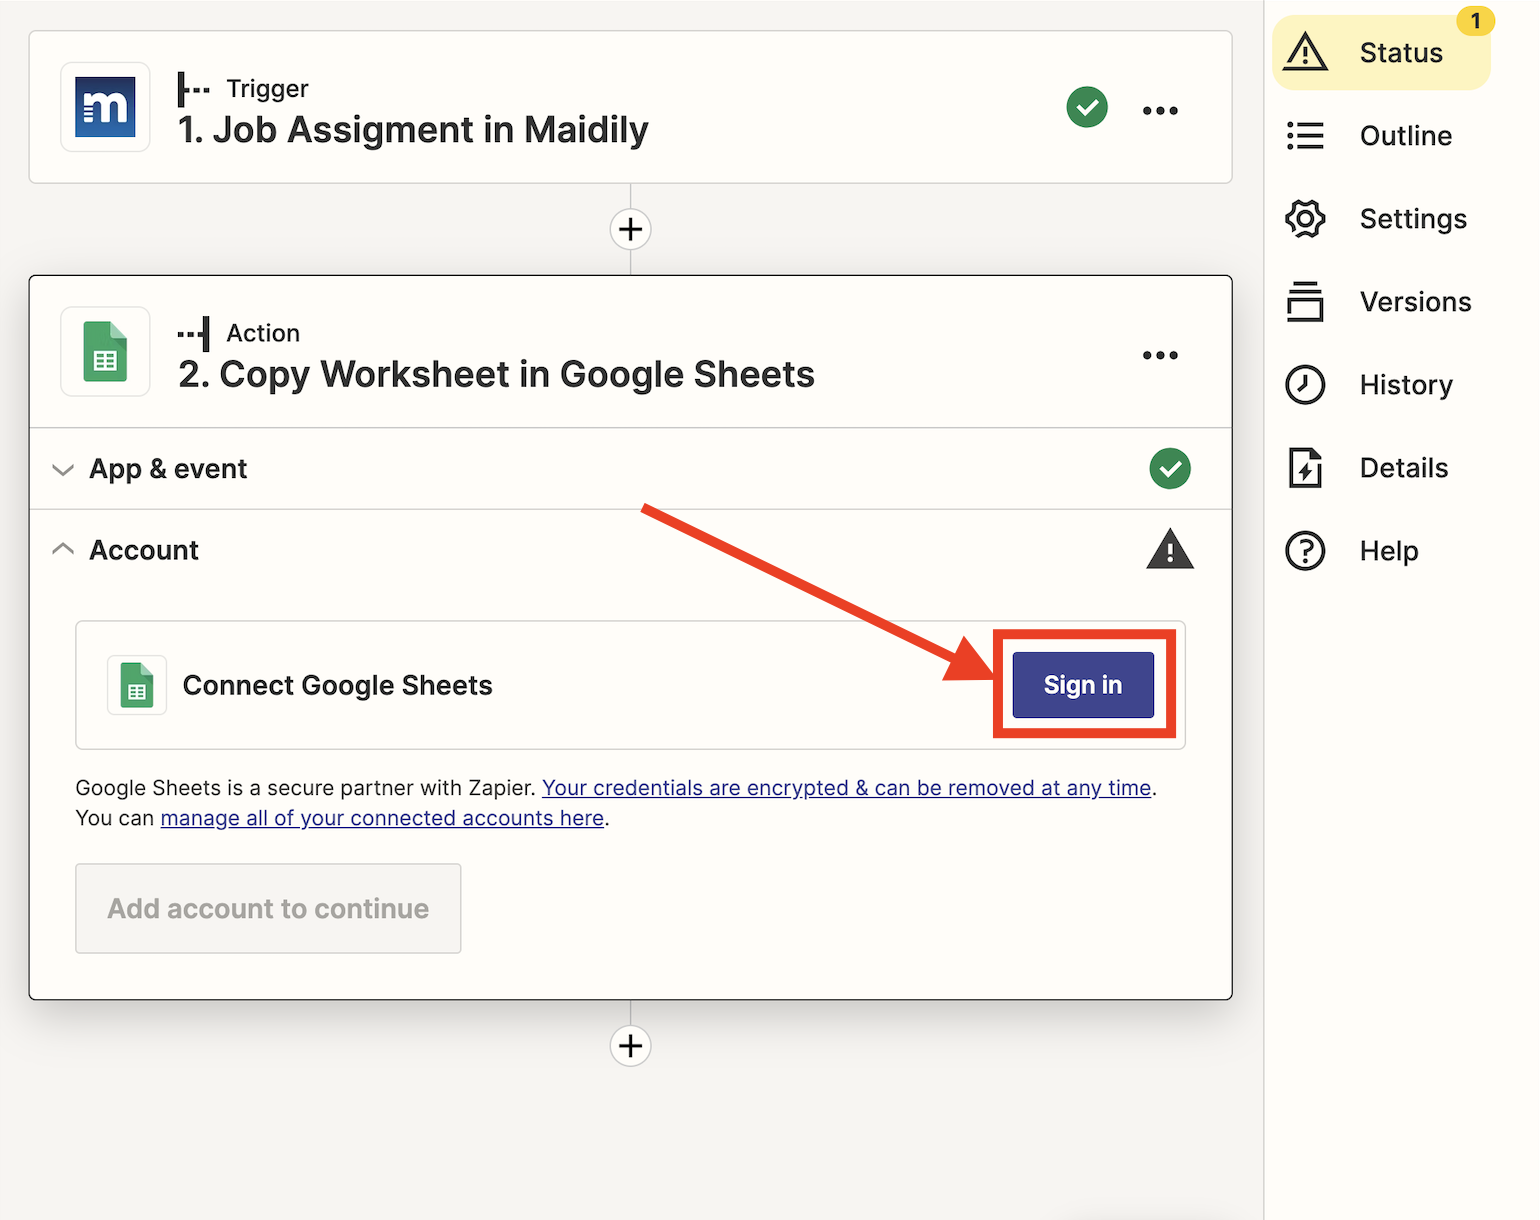
- You will be prompted to sign into the account for the app you are connecting to
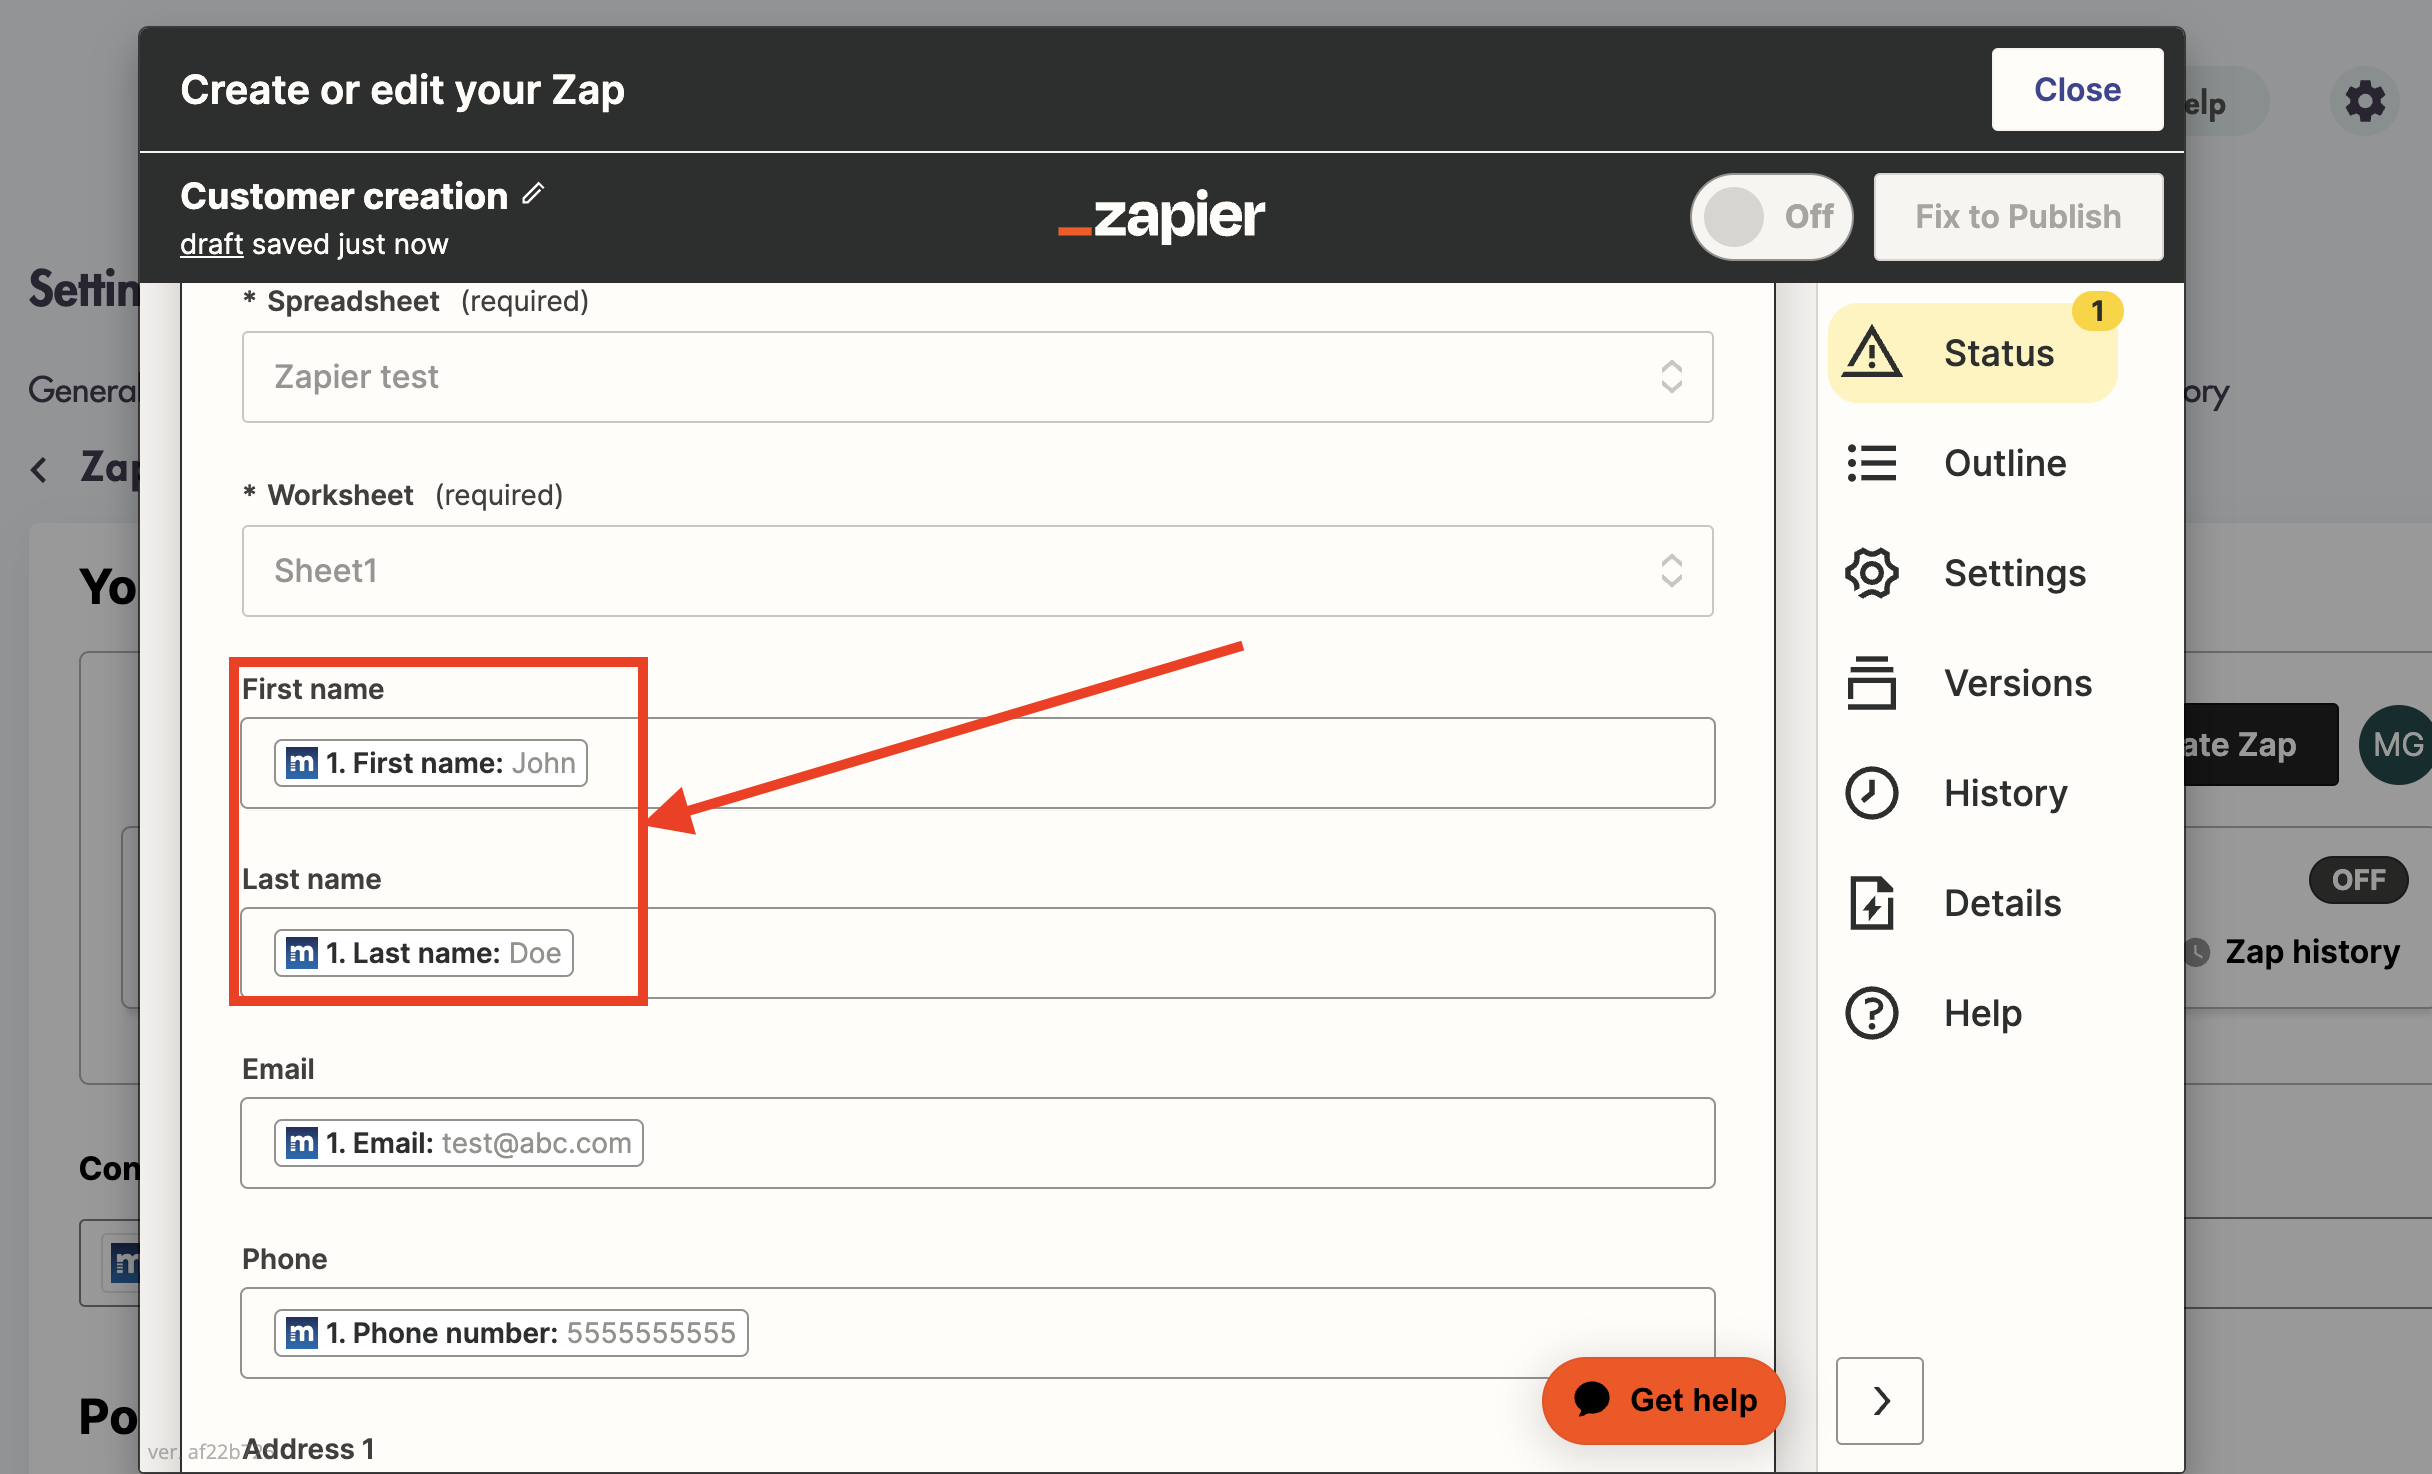
- Follow the steps in selecting where the details of the event will be sent within the app
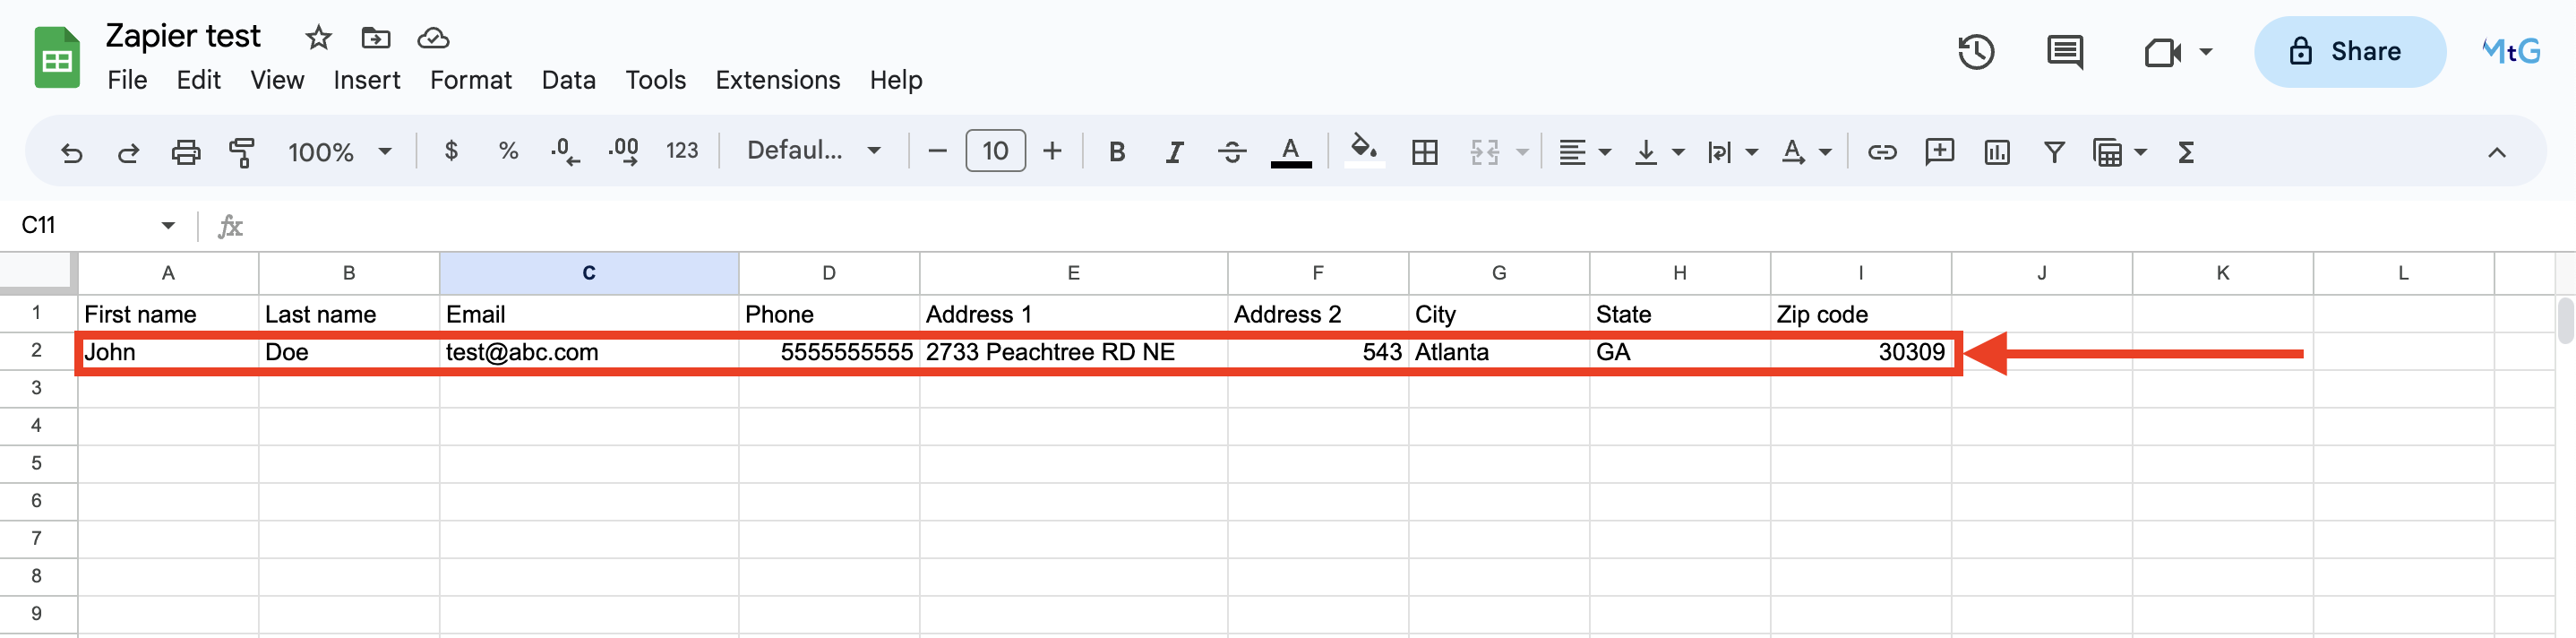
- In our example of Google Sheets we had to choose:
- The Drive where the Sheet is located
- The Spreadsheet name - Zapier test
- The Worksheet within the spreadsheet - Sheet1
- The spreadsheet needed to be created prior to creating the Zap with all of the columns filled out accordingly
- In our example of Google Sheets we had to choose:
- Once you have filled out the event details you will have to 'Test' the trigger before publishing it

- Once tested you will see confirmation text appear that Zapier has ran the test
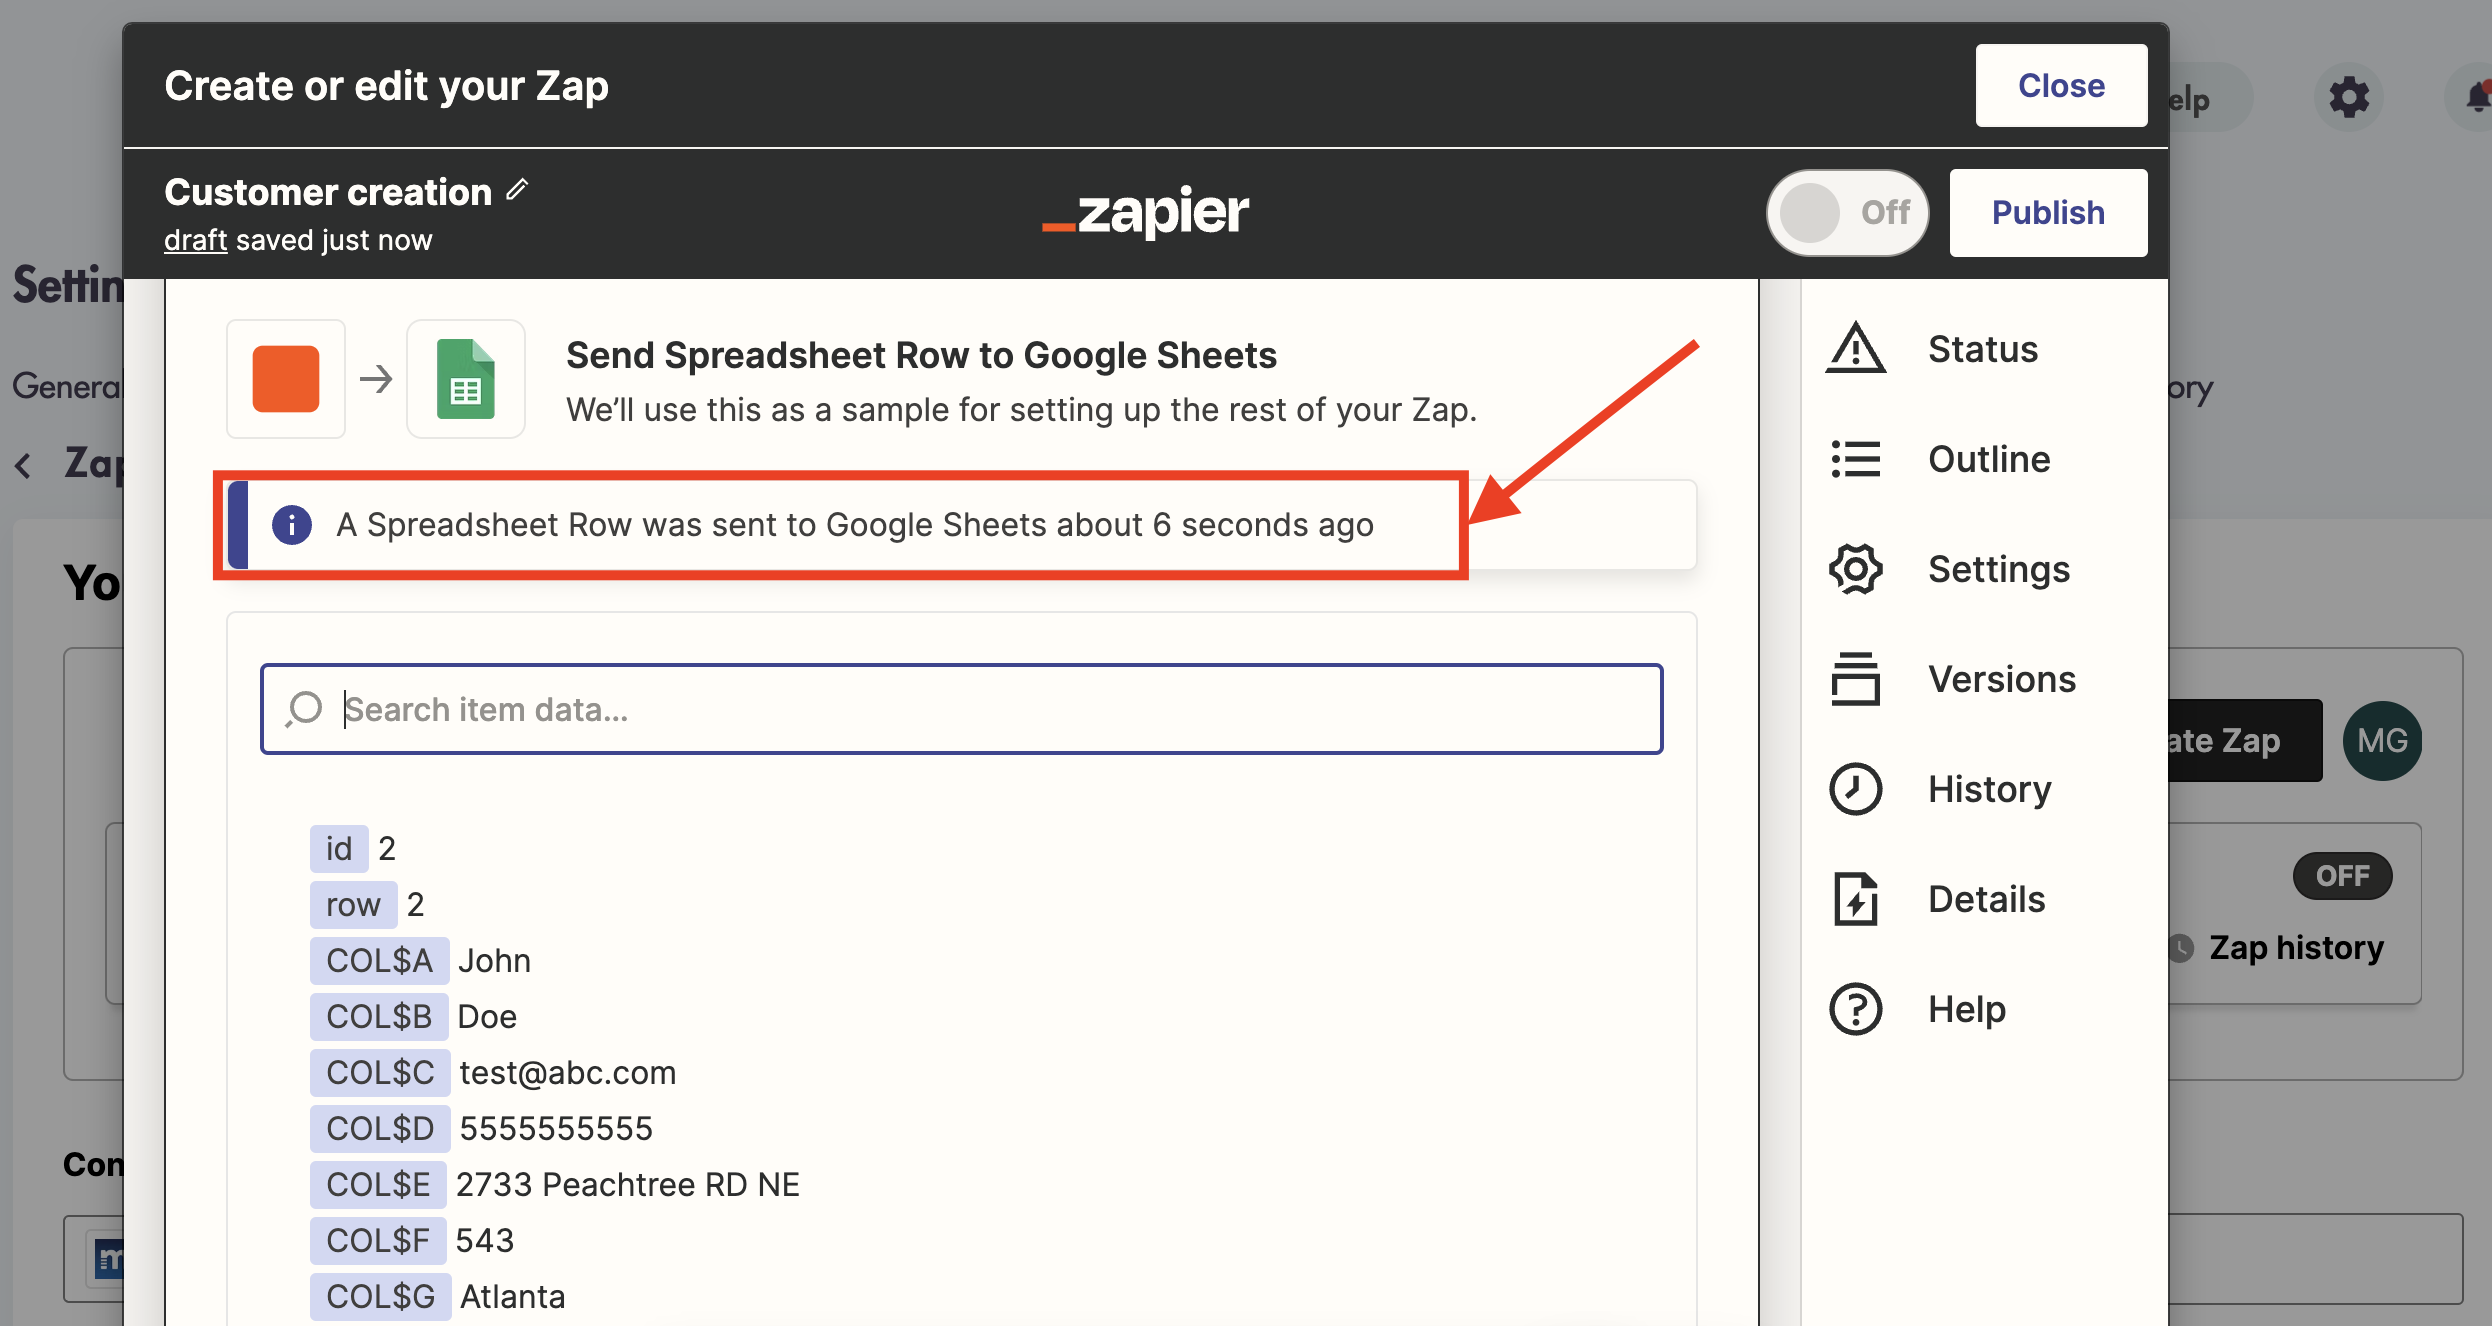
- You can check the app you connected to in order to see if the Zap worked
- In our example we can see that the Zap created a new row in our test spreadsheet with the customer details outlined in the Zap
- Once you are satisfied with your tests you click on 'Publish'
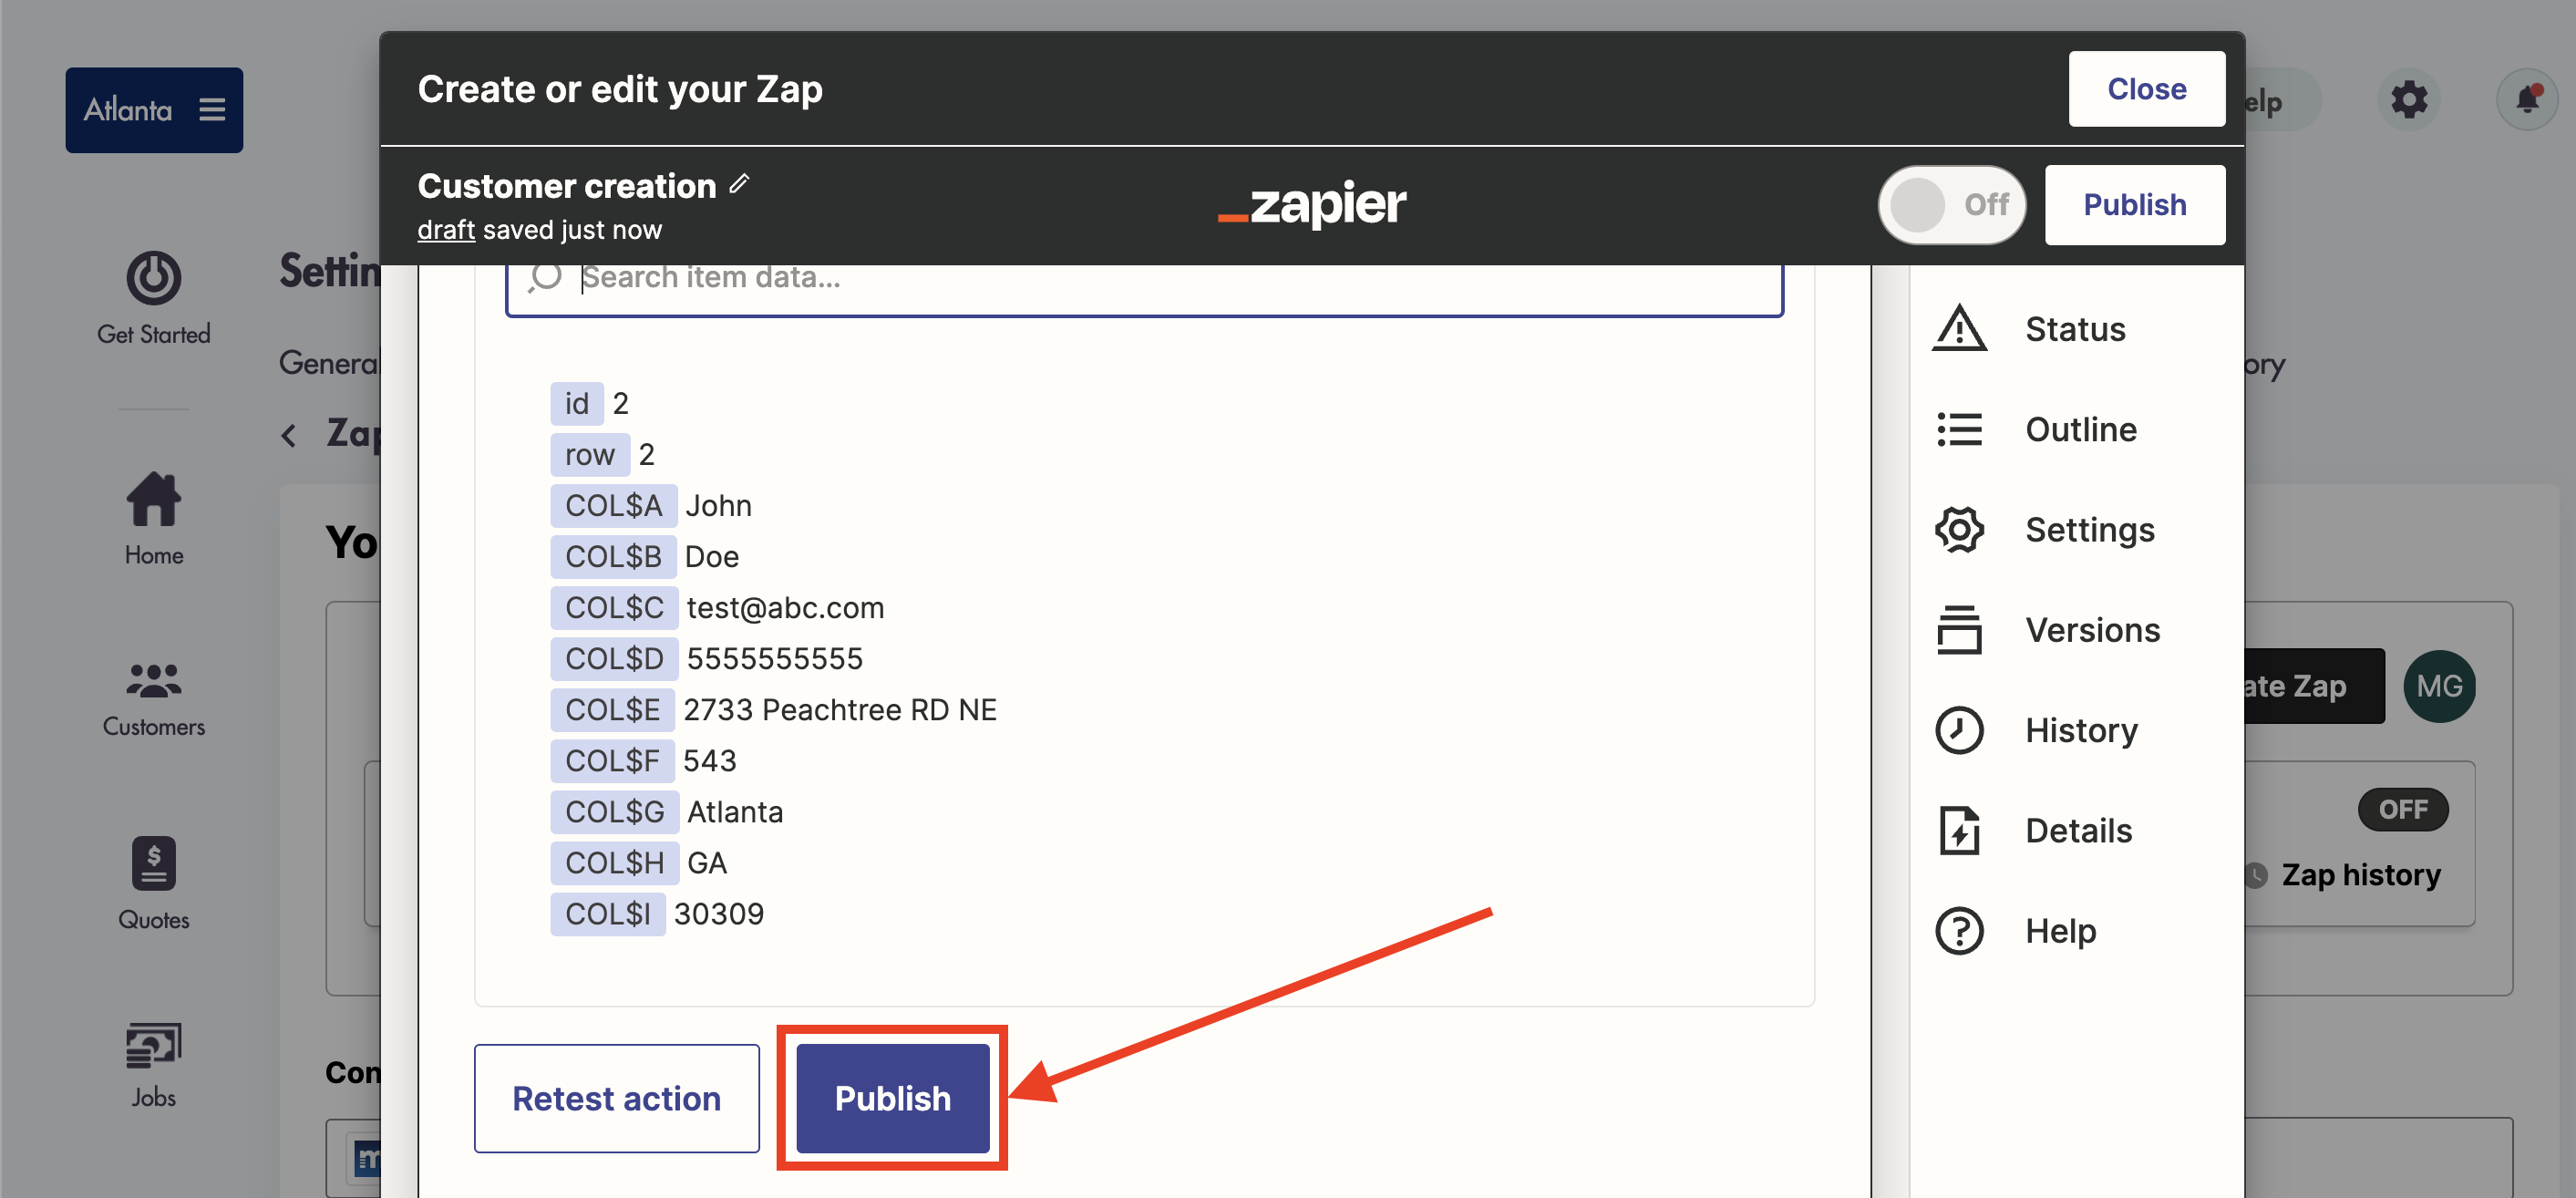
- Once 'Published' the Zap will be live and functioning
- Zaps will show in Maidily and your Maidily account
Considerations:
-
The Zapier interface may change from customer to customer as Zapier upgrades/updates their own experience but the workflows will stay the same
-
We do not control the events offered by other applications on Zapier
-
We do not have control over apps that are currently not on Zapier
-
Zapier is offered for FREE but they limit the number of Zaps you can create
-
There are no limits to the automations and combinations you can make in Zapier
Relevant articles:
Need more help with Zapier? Email us at help@maidily.com